Amazon RDS - AWS
Objective
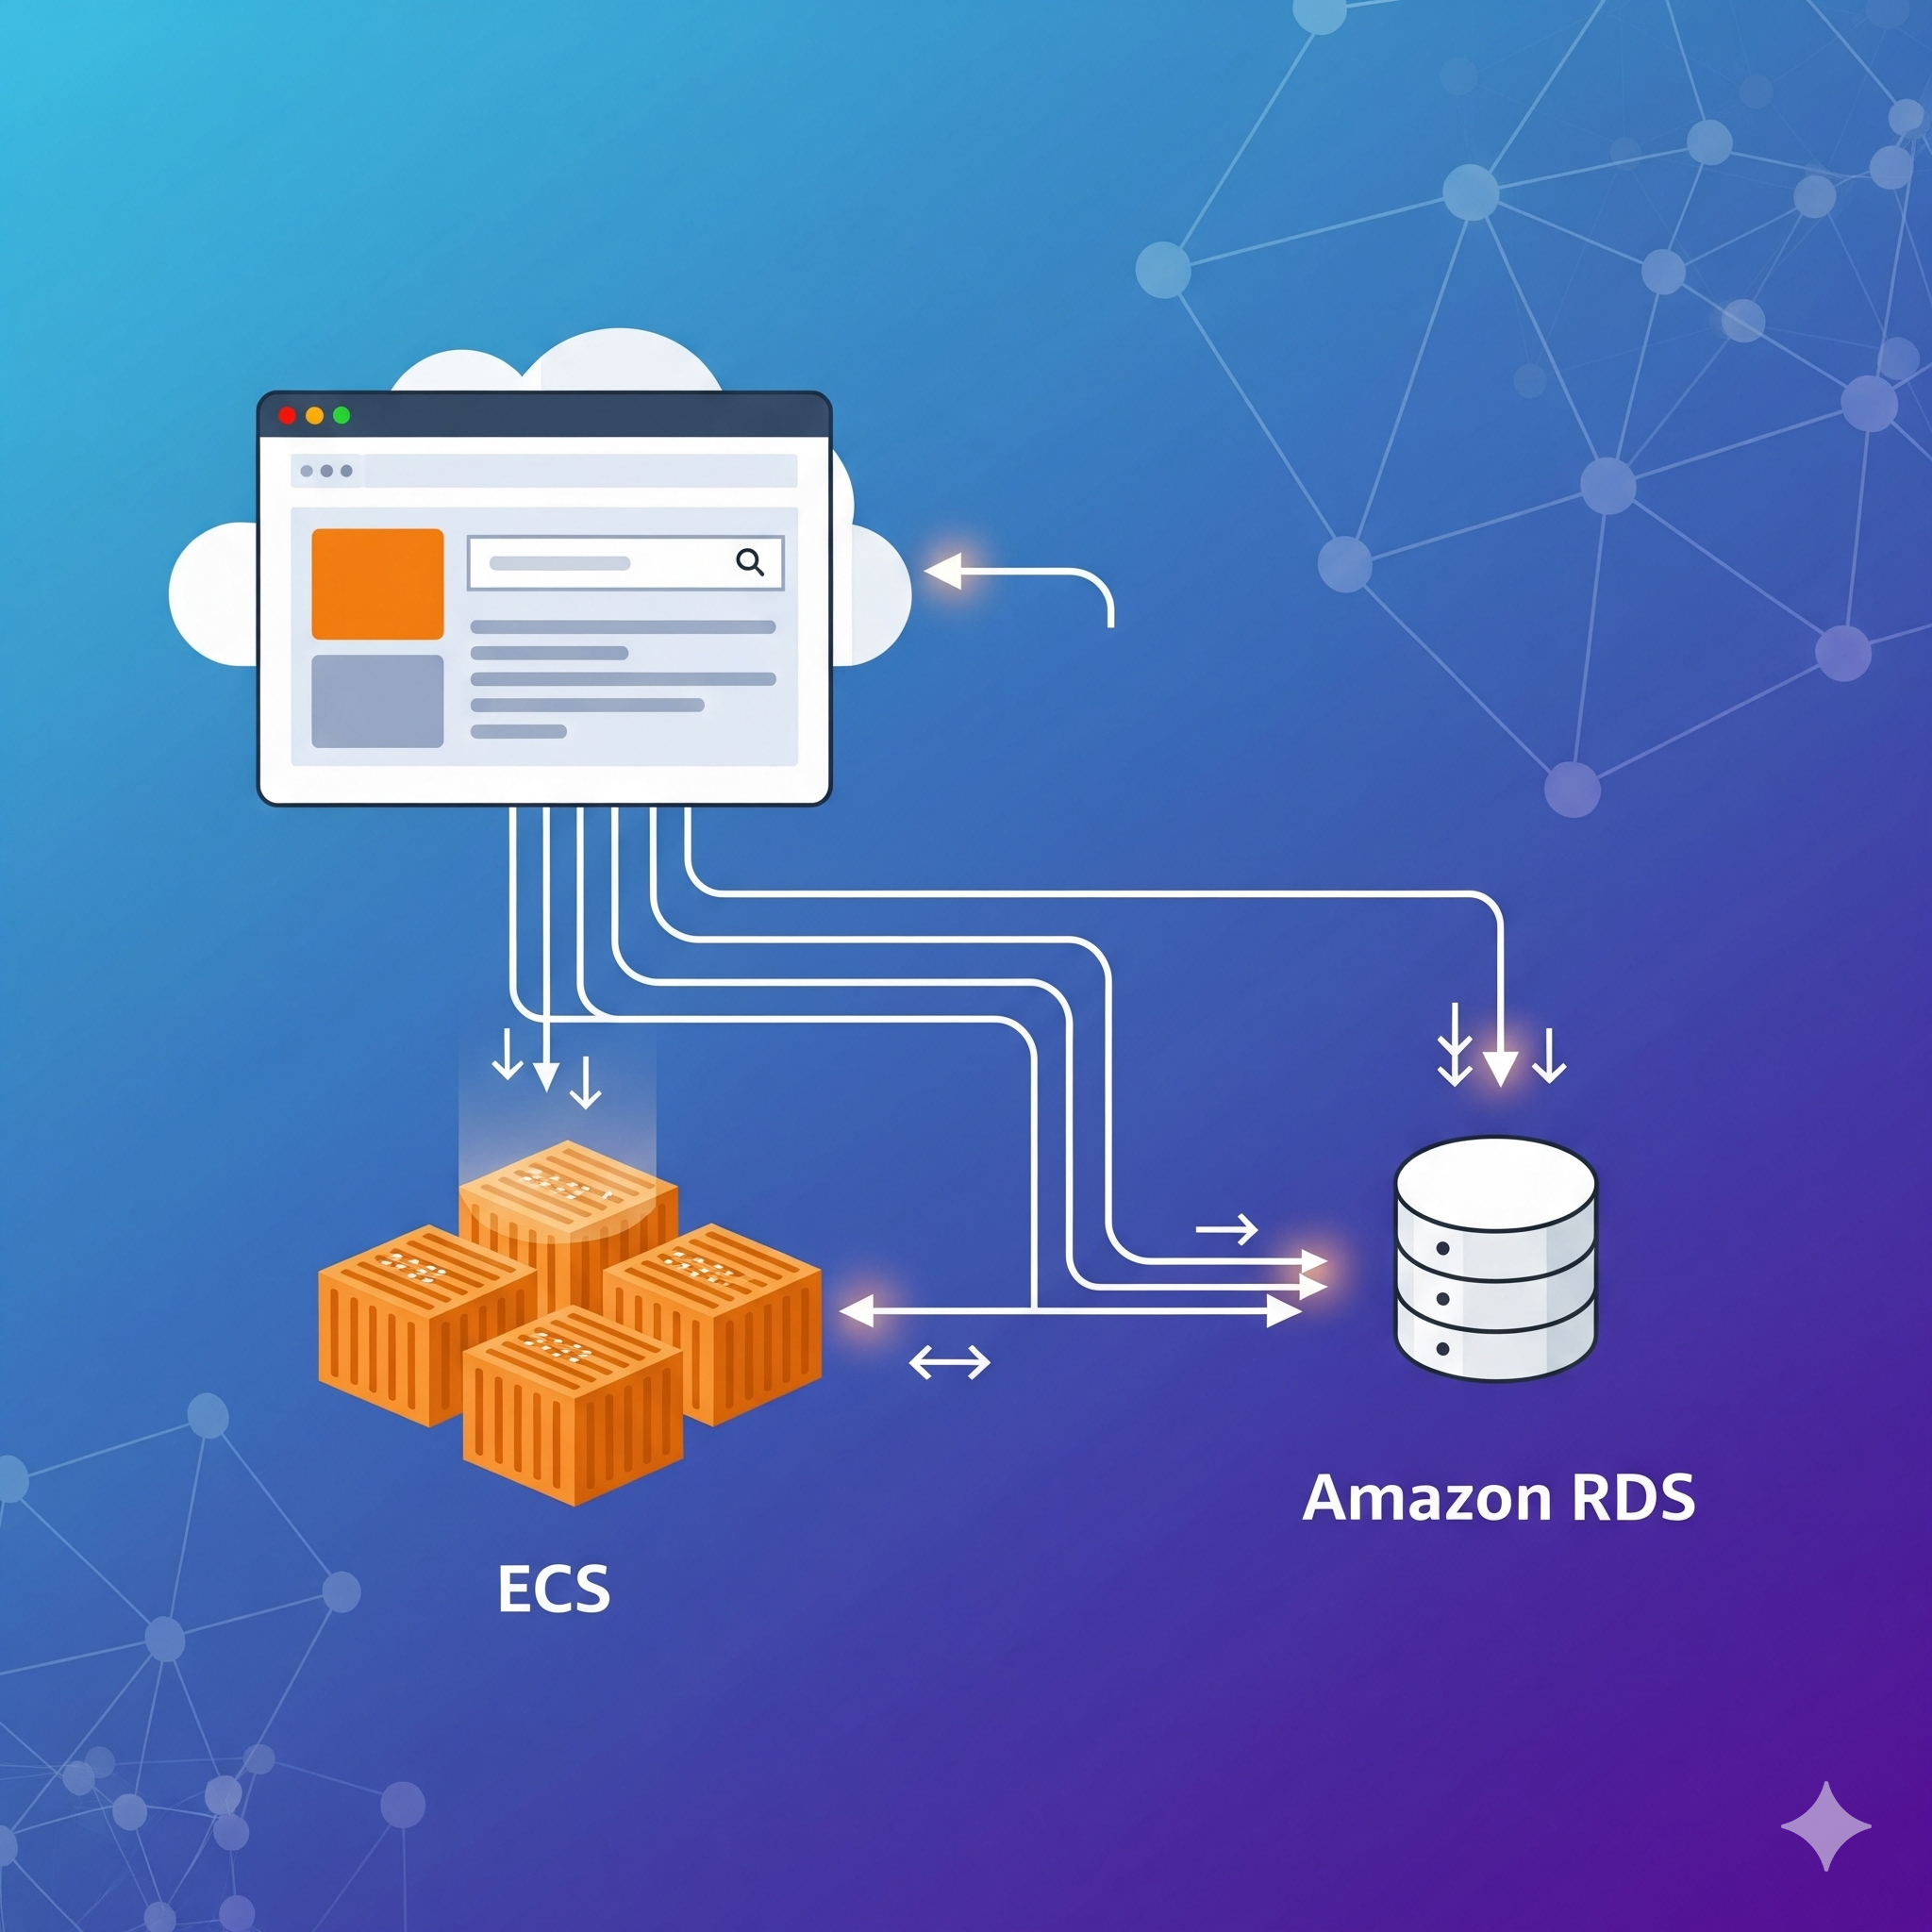
Today, I’ll be connecting the web application we configured here to a database. For that, I’ll be using Amazon RDS, to finally make our application work in its entirety.
This post will also be the last one before diving into container orchestration, which will be a very fun topic we will explore in the following days.
Amazon RDS
Amazon Relational Database Service (RDS) is a “web service that makes it easier to set up, operate, and scale a relational database in the AWS Cloud. It provides cost-efficient, resizable capacity for an industry-standard relational database and manages common database administration tasks”.
If you have been following along with all my other posts, you will notice that this time the container database we built won’t be of much usage here, except for the .sql file we created. The reason is because AWS will completely manage it for us. That being said, what we should do first is connect our application to it and then transfer our .sql file to have some actual data stored.
Creating a Database
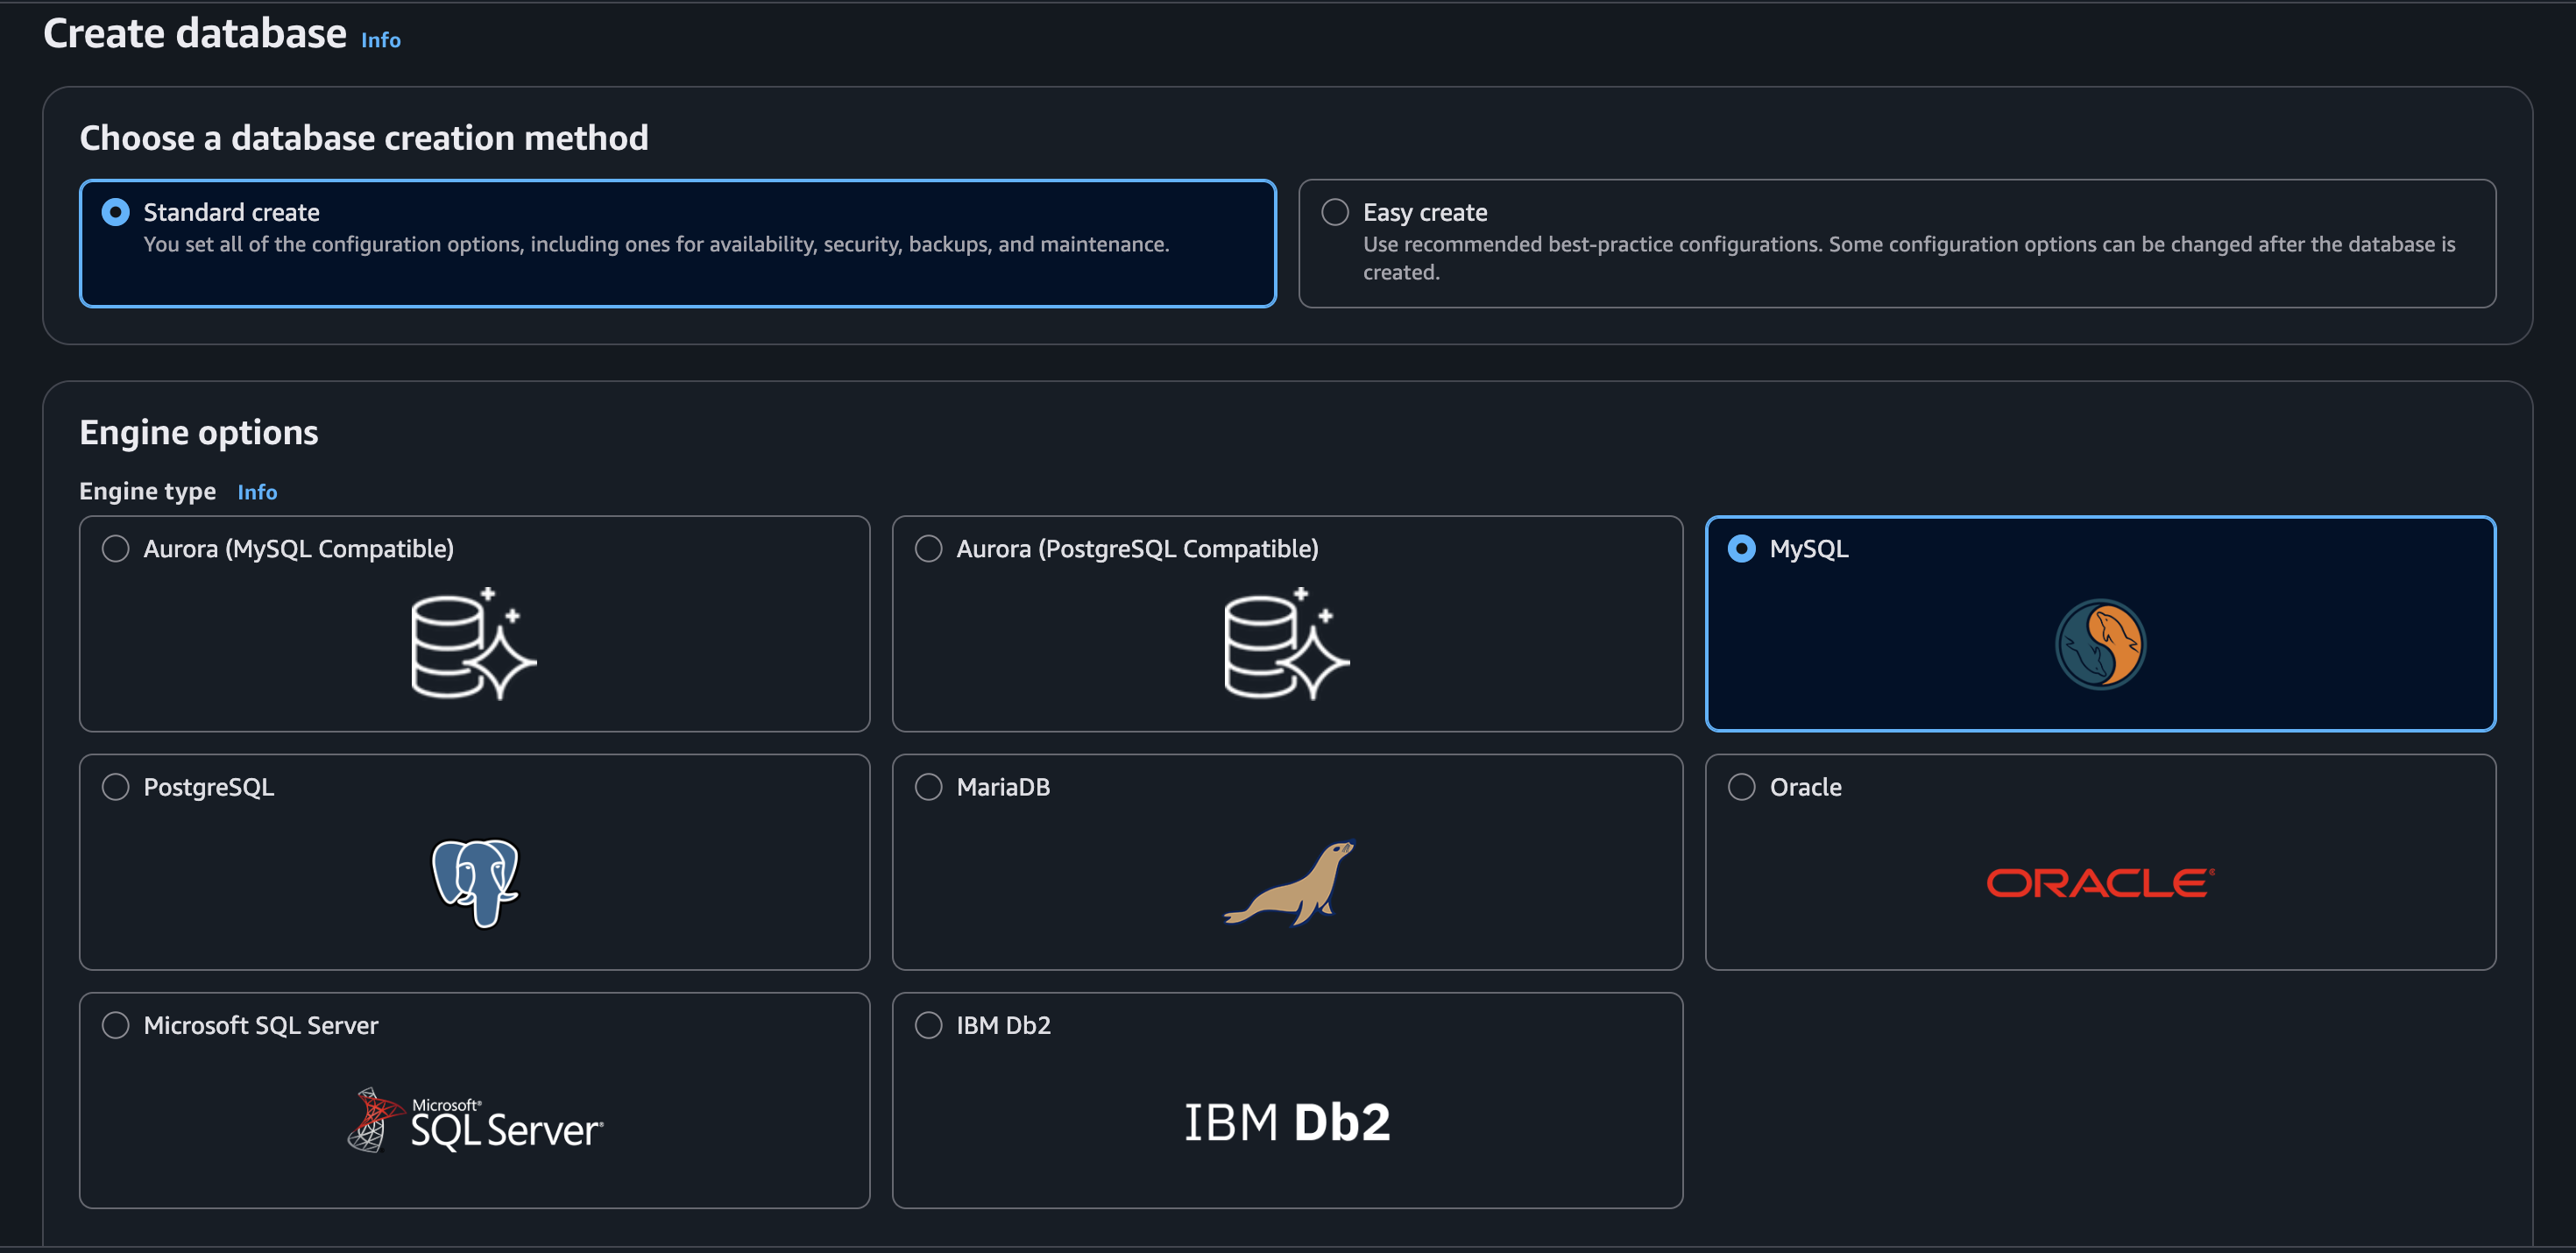
To get started, we will navigate to the Aurora and RDS dashboard and click on Create database. Because my setup is pretty simple (and for demonstration purposes), I’ll choose MySQL and select the Standard create option:
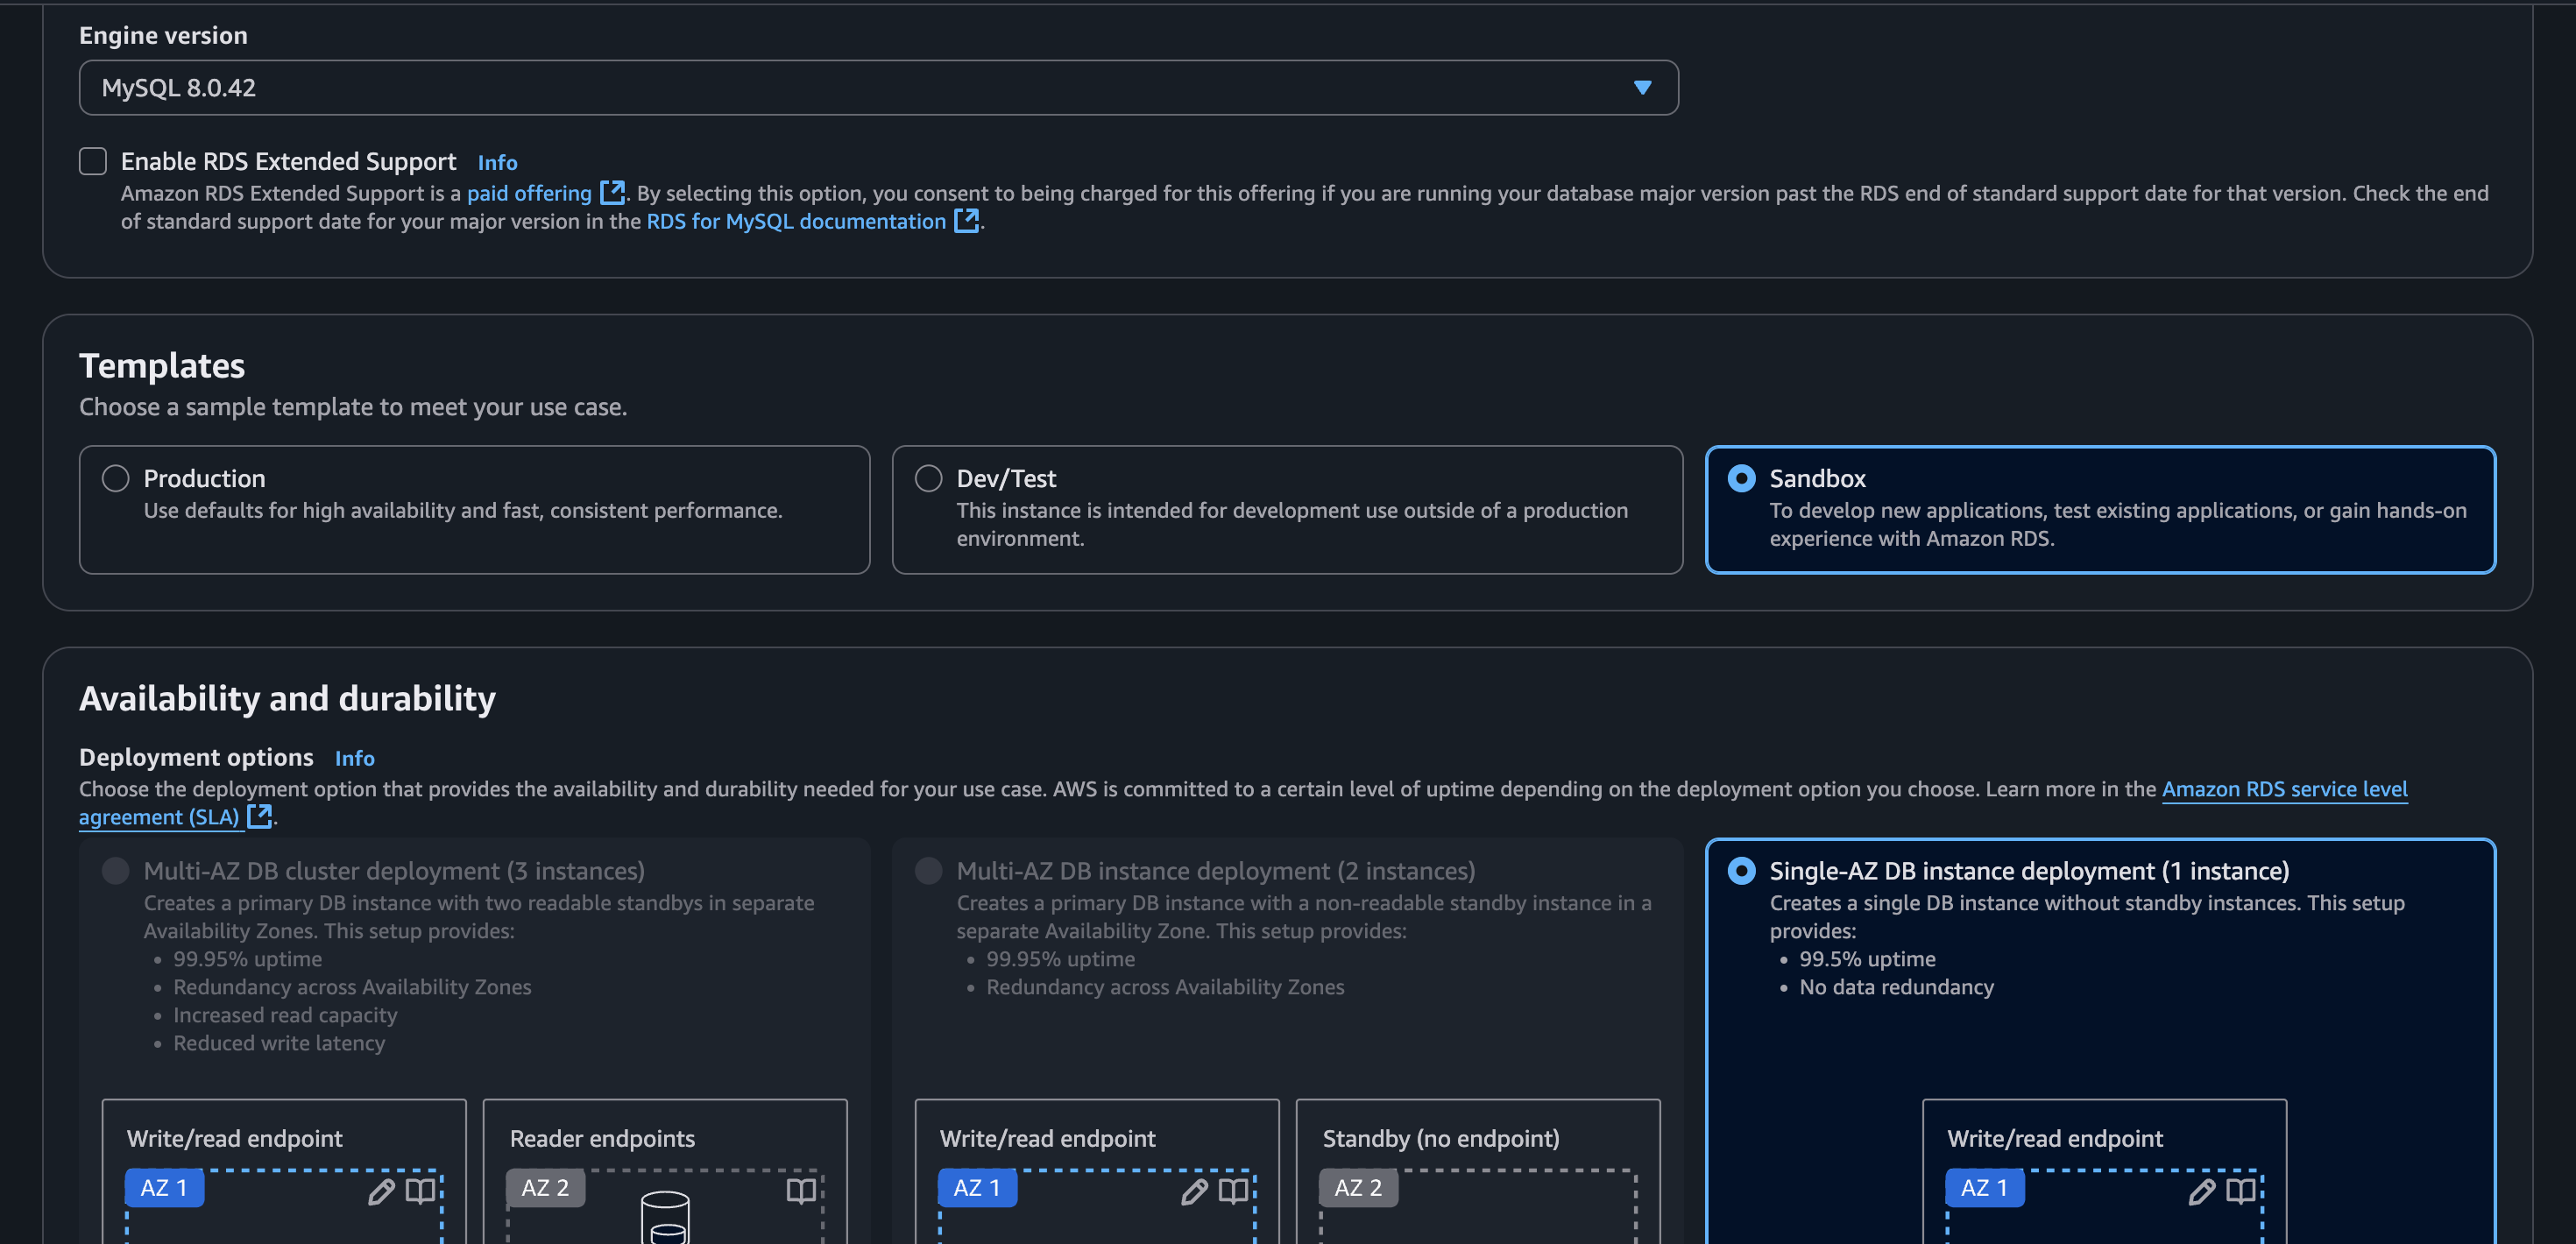
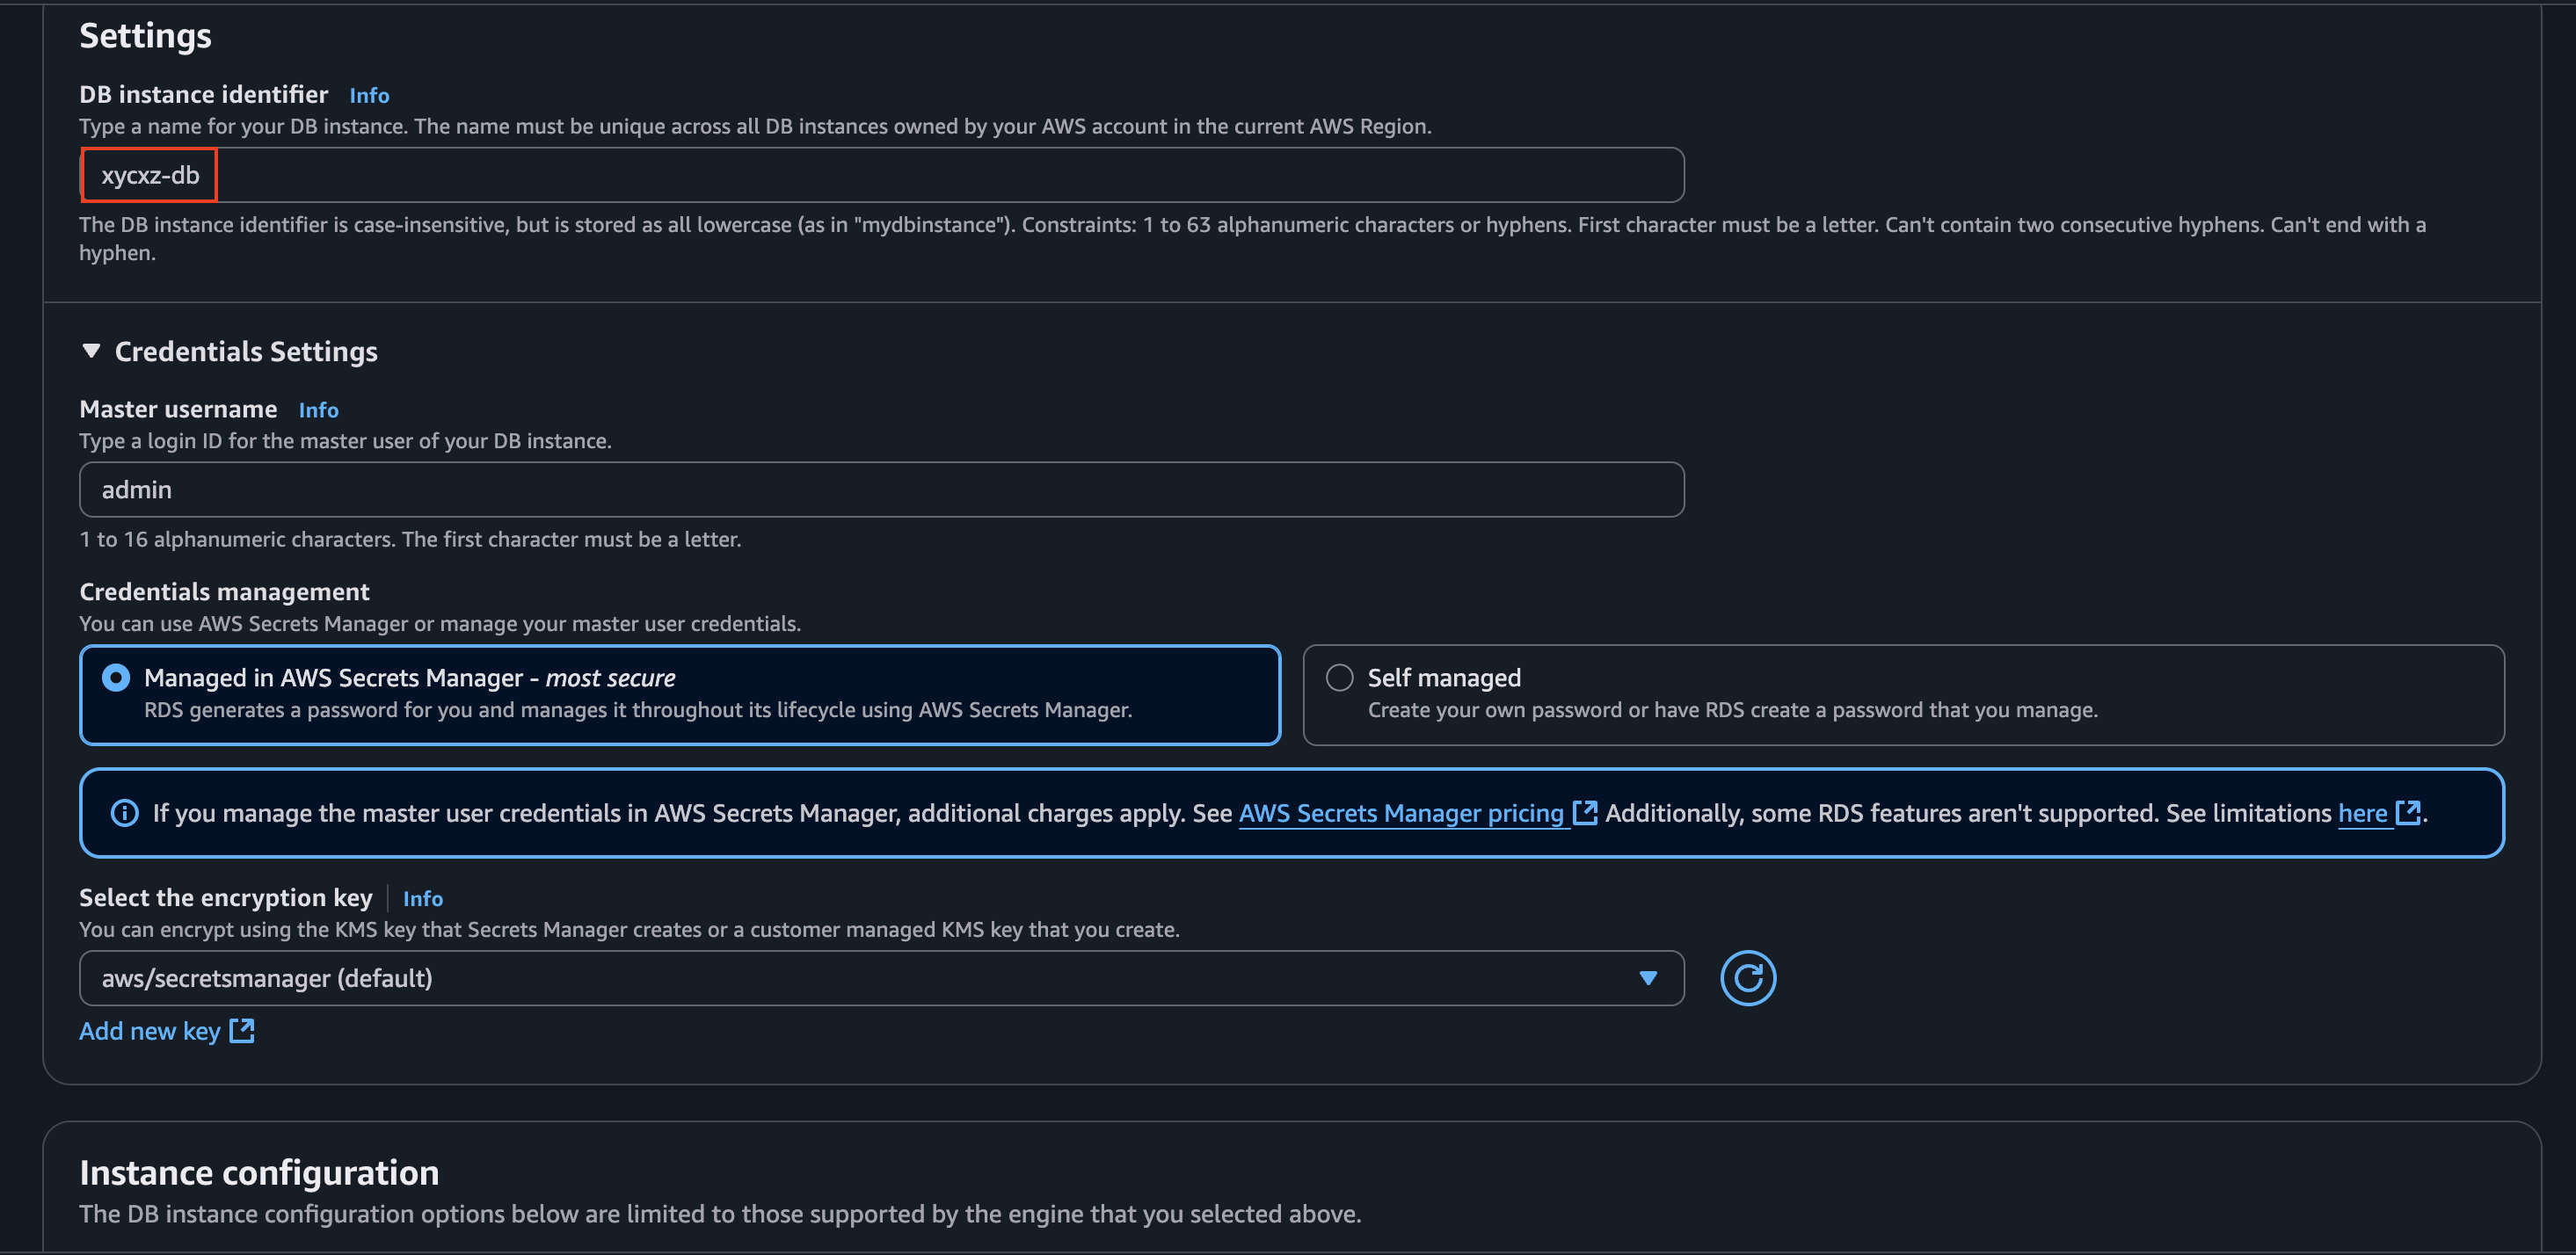
If we scroll down, we will see the default settings that are set when we talk about networking:
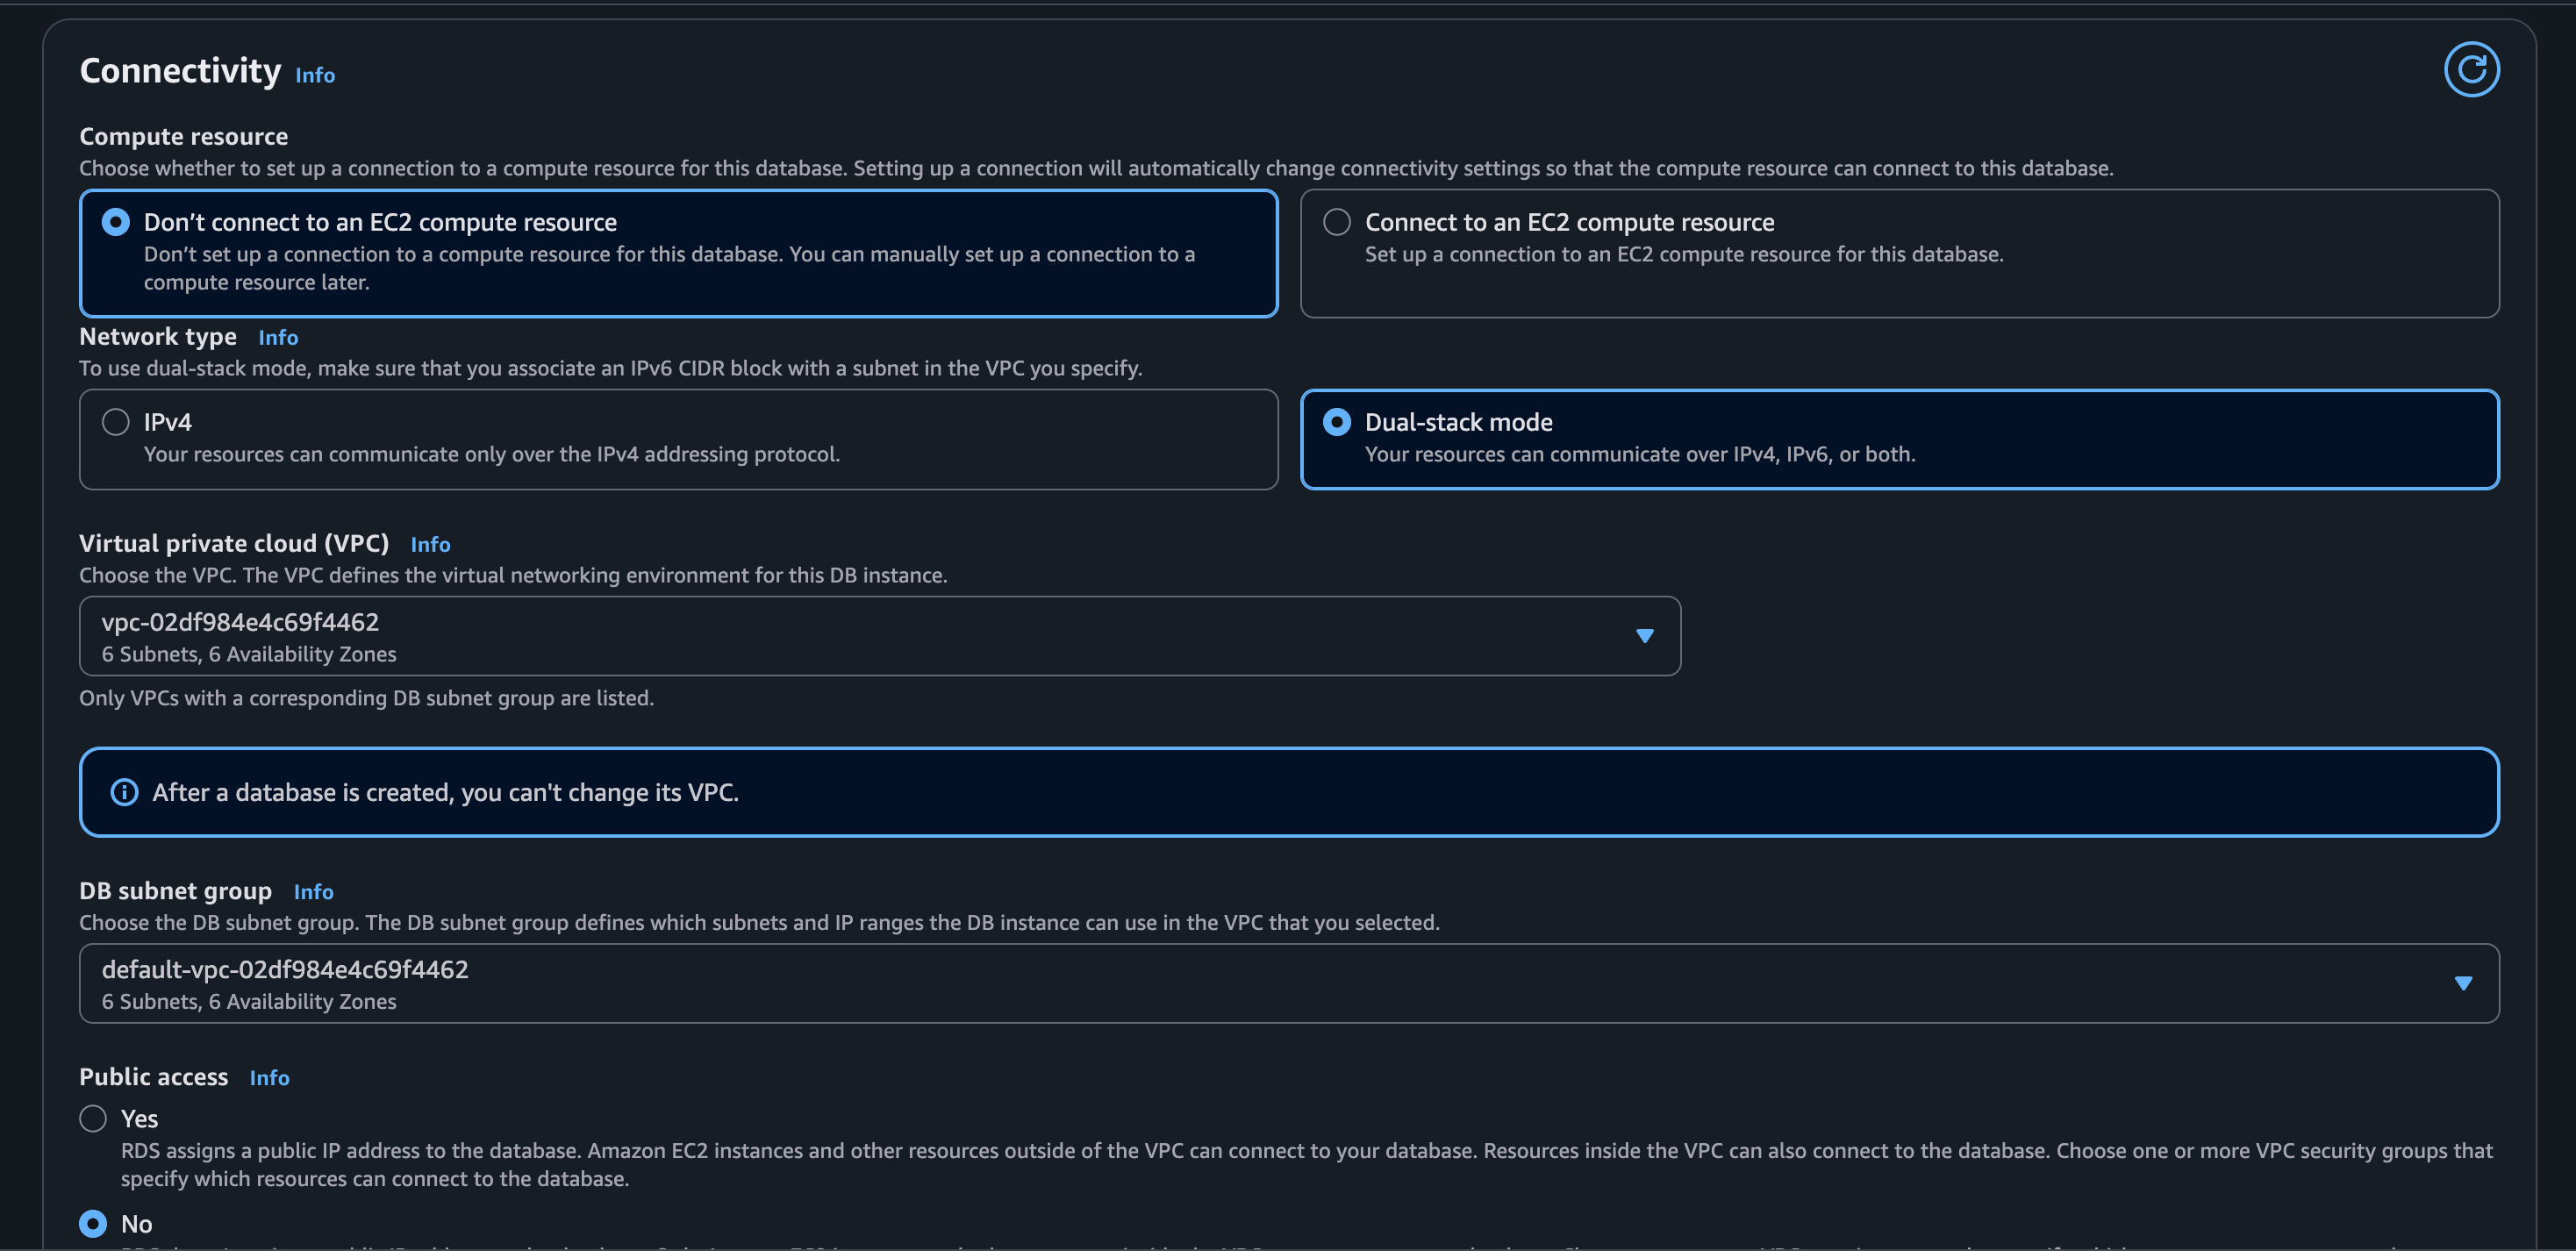
I’m leaving the rest of the configuration as default.
Note: What we need to pay attention to during the creating of our database, is that it will be able to communicate with our application running in ECS. That’s why we need to make sure it is on the same VPC and the security group/s allow traffic exchange.
Before clicking on Create database, we will have to do some changes to our application if we want to connect it to RDS, especially because we’re using AWS Secrets Manager, which requires some extra configuration steps.
Updating our Application
Amazon Web Services Software Development Kits (Amazon SDKs) consist of “libraries and sample code for various programming languages and platforms”. Additionally, they “automatically use the default endpoint for the service in an AWS Region”. However, we can specify a different endpoint for our API requests.
If we want our application to be able to talk to the Secrets Manager API, we have to use the corresponding SDK, which in our case is AWS SDK for PHP because it “enables PHP developers to use Amazon Web Services in their PHP code”.
To install the SDK, we need to modify our Docker image first and install the things we need. Firstly, we have to include the composer image in our Dockerfile. This is a package manager for PHP that will let us install our project dependencies, including AWS SDK. The final Dockerfile will look like this:
1
2
3
4
5
6
7
8
9
10
11
12
13
14
15
16
17
18
19
20
21
22
23
24
25
26
27
28
29
30
31
32
33
34
FROM php:8.2-apache

COPY --from=composer:2.8 /usr/bin/composer /usr/bin/composer

# Installing system dependencies
RUN apt-get update && \
	apt-get install -y \
	git \
	unzip \
	libzip-dev \
	--no-install-recommends && \
	rm -rf /var/lib/apt/lists/*

# Installing PHP extensions (required for composer)
RUN docker-php-ext-install pdo pdo_mysql zip && \
	composer require aws/aws-sdk-php

RUN useradd -m -s /bin/bash apache2 && \
	a2dissite 000-default.conf && \
	rm /etc/apache2/sites-available/* && \
	rm /etc/apache2/ports.conf

COPY xycxz.conf /etc/apache2/sites-available/
COPY ports.conf /etc/apache2

COPY index.php /var/www/html/
COPY db_connect.php /var/www/html/

RUN a2ensite xycxz.conf && \
	chown -R apache2:apache2 /var/www/html

EXPOSE 8080

USER apache2
Note: The references I used to come up with this Dockerfile are the official installation guide of AWS SDK for PHP (notice that we need to include the autoloader in our script later), and this post that explains how to install PHP composer inside a Docker container.
Now that we’re able to use AWS services with our application, the next step would be to modify our db_connect.php script so it can connect to the RDS database. We can follow this guide to correctly modify the script. The final result will look like this:
1
2
3
4
5
6
7
8
9
10
11
12
13
14
15
16
17
18
19
20
21
22
23
24
25
26
27
28
29
30
31
32
33
34
35
36
37
38
39
40
41
42
43
44
45
46
47
<?php

require 'vendor/autoload.php';

use Aws\SecretsManager\SecretsManagerClient;
use Aws\Exception\AwsException;

// Get the environmental variables set in ECR
$secretName = getenv('DB_SECRET_NAME');
$region = getenv('AWS_REGION');

// Create a Secrets Manager Client
$client = new SecretsManagerClient([
    'version' => 'latest',
    'region'  => $region,
]);

try {
    $result = $client->getSecretValue([
        'SecretId' => $secretName,
    ]);

} catch (AwsException $e) {
    throw $e;
}

// Using the json_decode() function to parse the JSON string into a structured PHP array
$secret = json_decode($result['SecretString'], true);

// Accessing the key values of the JSON array
$host = $secret['host'];
$dbname = $secret['dbname'];
$user = $secret['username'];
$pass = $secret['password'];

try {
    $dsn = "mysql:host={$host};dbname={$dbname};charset=utf8mb4";
    $options = [
        PDO::ATTR_ERRMODE            => PDO::ERRMODE_EXCEPTION,
        PDO::ATTR_DEFAULT_FETCH_MODE => PDO::FETCH_ASSOC,
        PDO::ATTR_EMULATE_PREPARES   => false,
    ];
    $pdo = new PDO($dsn, $user, $pass, $options);
} catch (\PDOException $e) {
    throw new \PDOException($e->getMessage(), (int)$e->getCode());
}
?>
We need to push the new modified image to ECR and then create a new task with it (we will be using the same cluster we configured before). However, first we need to create the database so the AWS Secrets are available when defining the task.
After clicking on Create database in our RDS dashboard, we can go ahead and configure the AWS Secrets we need to pass into environmental variables when setting up an ECS task. For that, we will navigate to AWS Secrets Manager and click on Store a new secret. Once that’s done, we will create a custom secret passing in the variables needed to connect to the database:
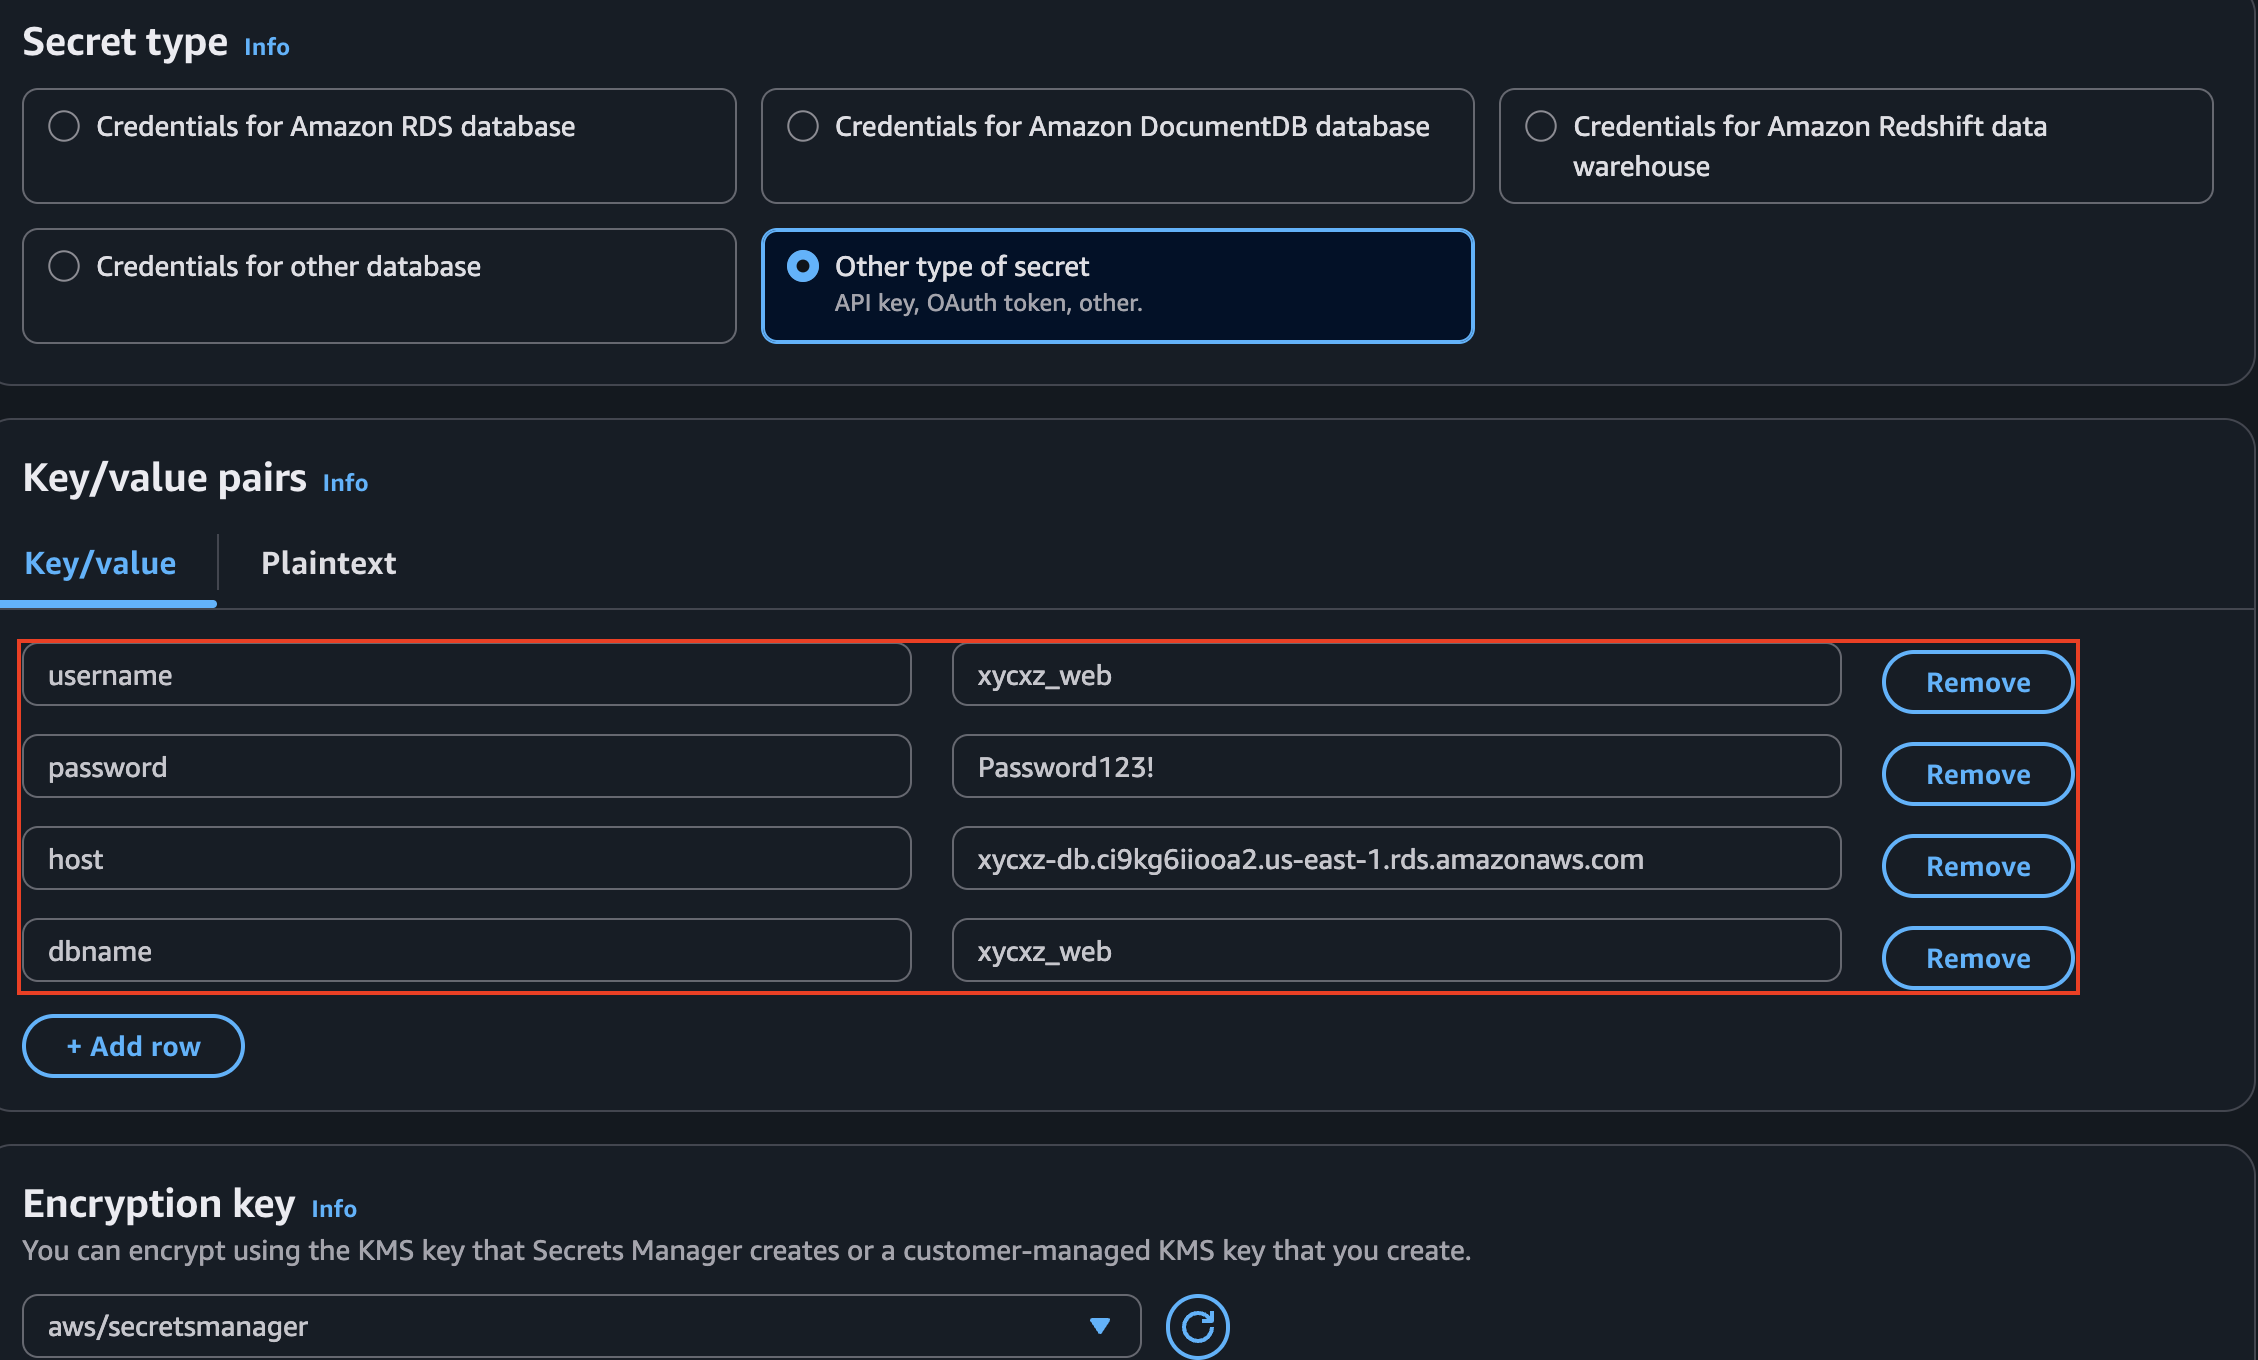
Note: Make sure to select the database the low-level user has access to! We will leave everything else as default and make sure rotation is turned off.
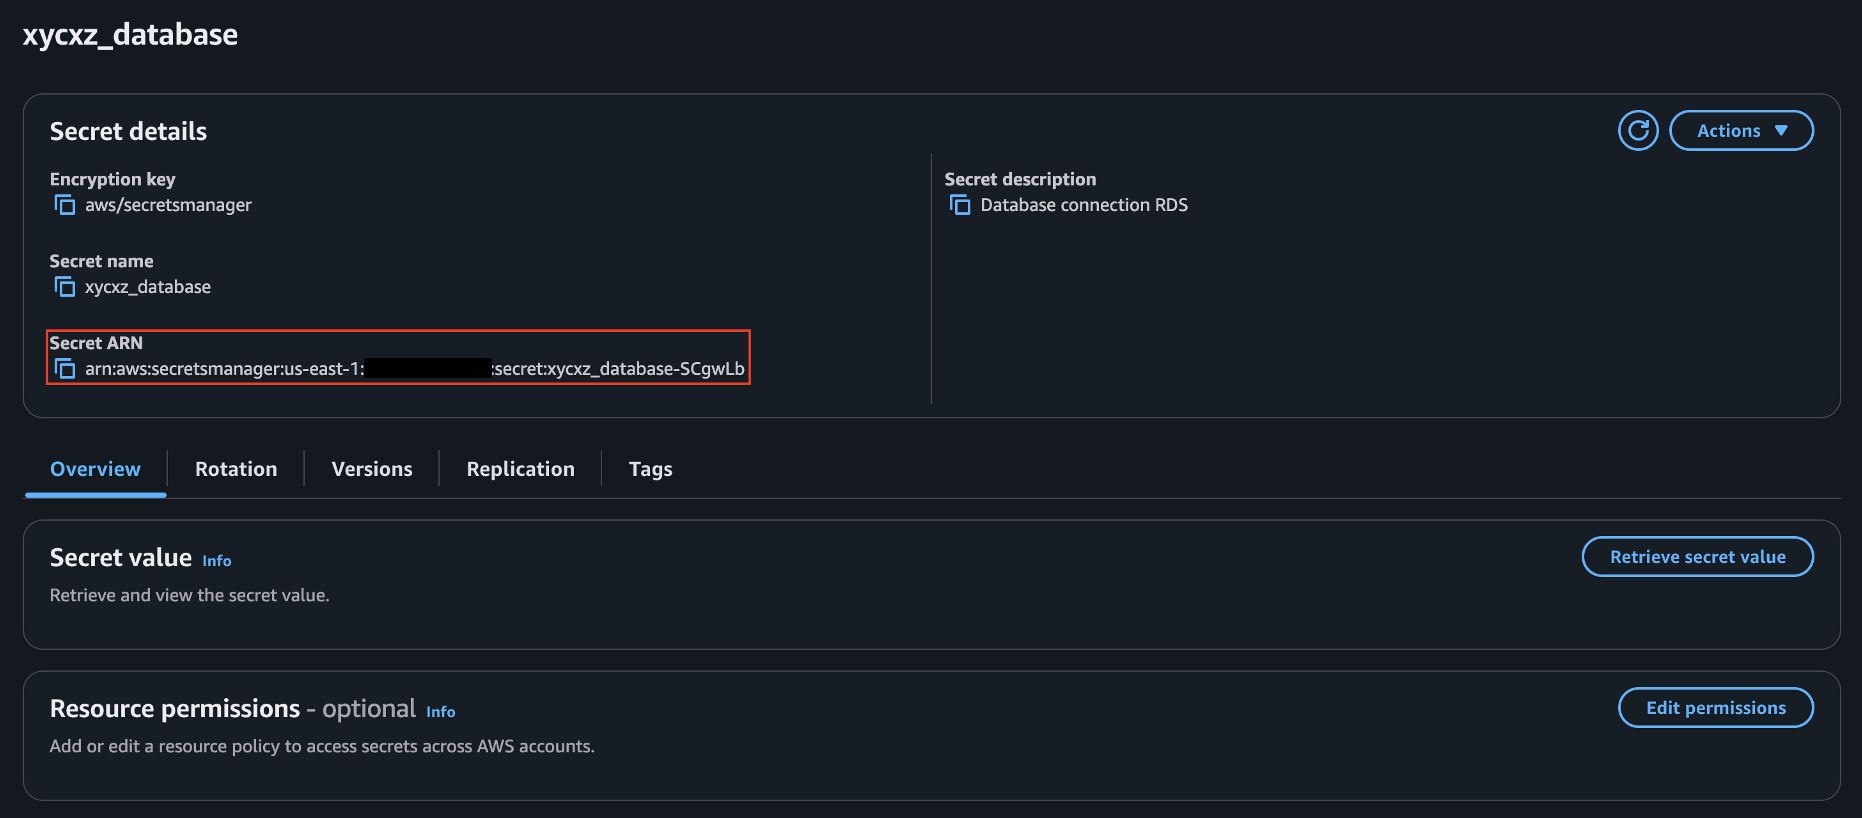
The next step consists of configuring our ECS task, so it can have access to AWS Secrets. For that, we need to assign a permission to the role assumed by the task called GetSecretValue:
Note: I’m going to use the same role we used before (ecsTaskExecutionRole) and add an extra inline policy. Nonetheless, it might be better to create a custom global policy so we can use it anywhere else if needed, but I will keep it simple this time.
1
2
3
4
5
6
7
8
9
10
{
    "Version": "2012-10-17",
    "Statement": [
        {
            "Effect": "Allow",
            "Action": "secretsmanager:GetSecretValue",
            "Resource": "arn:aws:secretsmanager:us-east-1:<REDACTED>:secret:xycxz_database-SCgwLb"
        }
    ]
}
Note: The Resource in this case points to the custom secrets we created above. This is a good security practice because we will be running the database with a low-level user, and the task/s will have no access to the default created secrets by the database (which correspond to the administrator credentials).
To configure our Task Definition, we will use the same configuration of my ECS post but with the difference that we will add the necessary environmental variables for this to work:
1
2
3
4
5
6
7
8
9
10
"environment": [
        {
          "name": "DB_SECRET_NAME",
          "value": "arn:aws:secretsmanager:us-east-1:<REDACTED>:secret:xycxz_database-SCgwLb"
        },
        {
          "name": "AWS_REGION",
          "value": "us-east-1"
        }
      ],
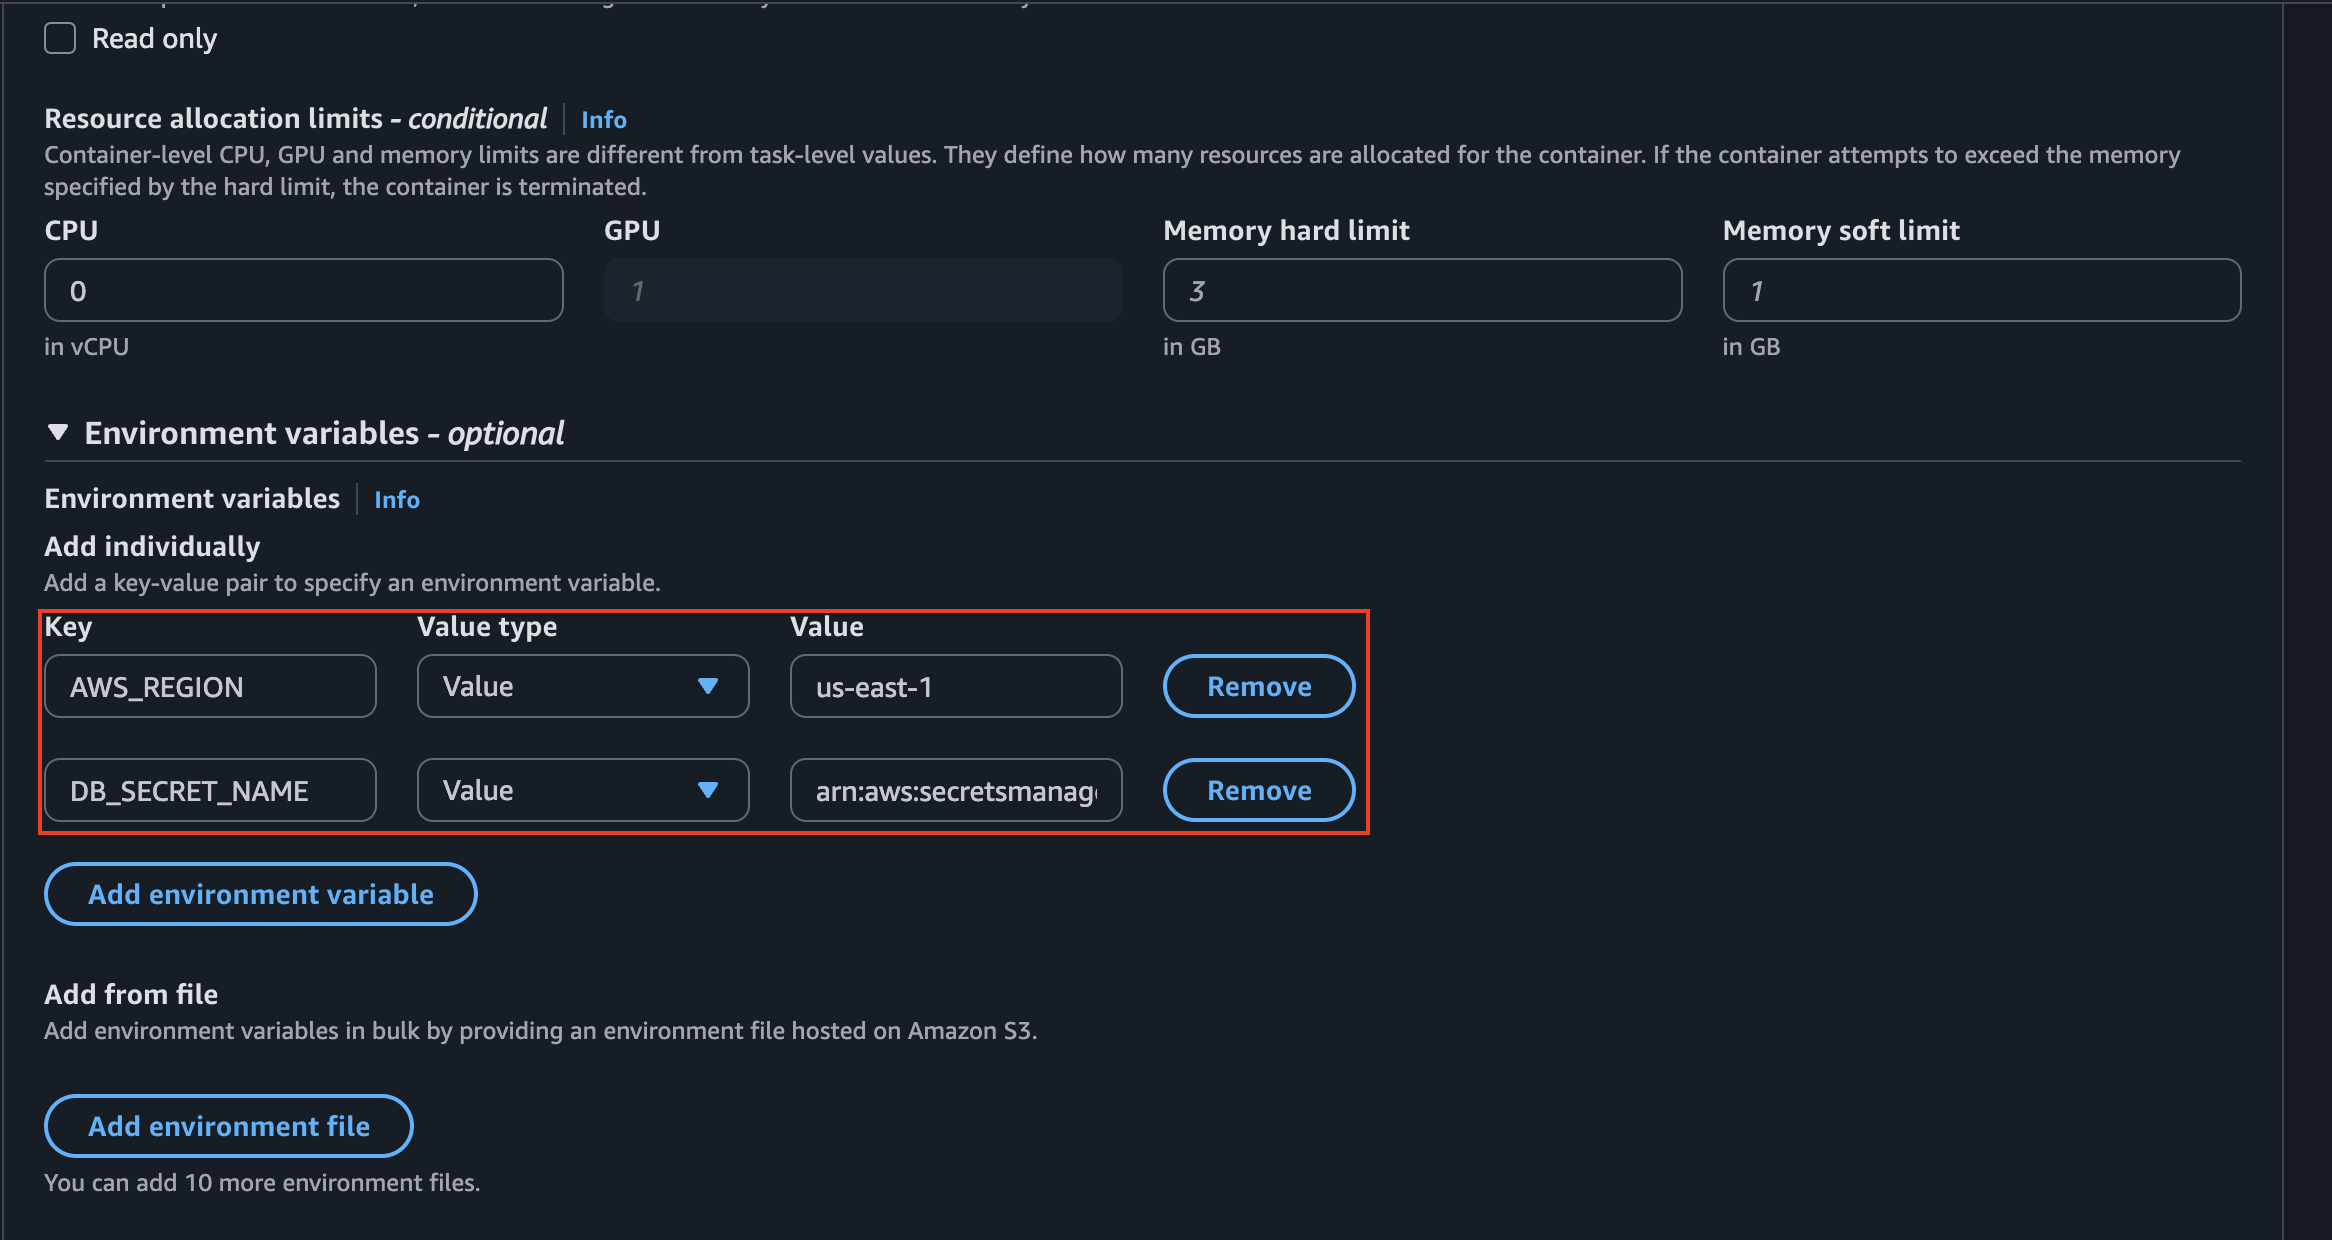
Note: The reason we must use the standard Value field for our DB_SECRET_NAME variable is because of how our PHP code is designed to work. Our script is built to be self-reliant; it uses the AWS SDK to actively fetch the secret from the Secrets Manager API at runtime. To do this, it needs the secret’s unique address—its ARN—which we provide as a plain-text environment variable using Value. If we were to use valueFrom instead, ECS would pre-fetch the secret’s content for us and inject the entire JSON string ({"username":...}) into the environment variable. Our SDK-based code would then incorrectly pass this JSON string to the API instead of the ARN, causing the call to fail with an Invalid name error. Therefore, because our application code handles the API call itself, we must use value to provide the ARN it needs to function correctly.
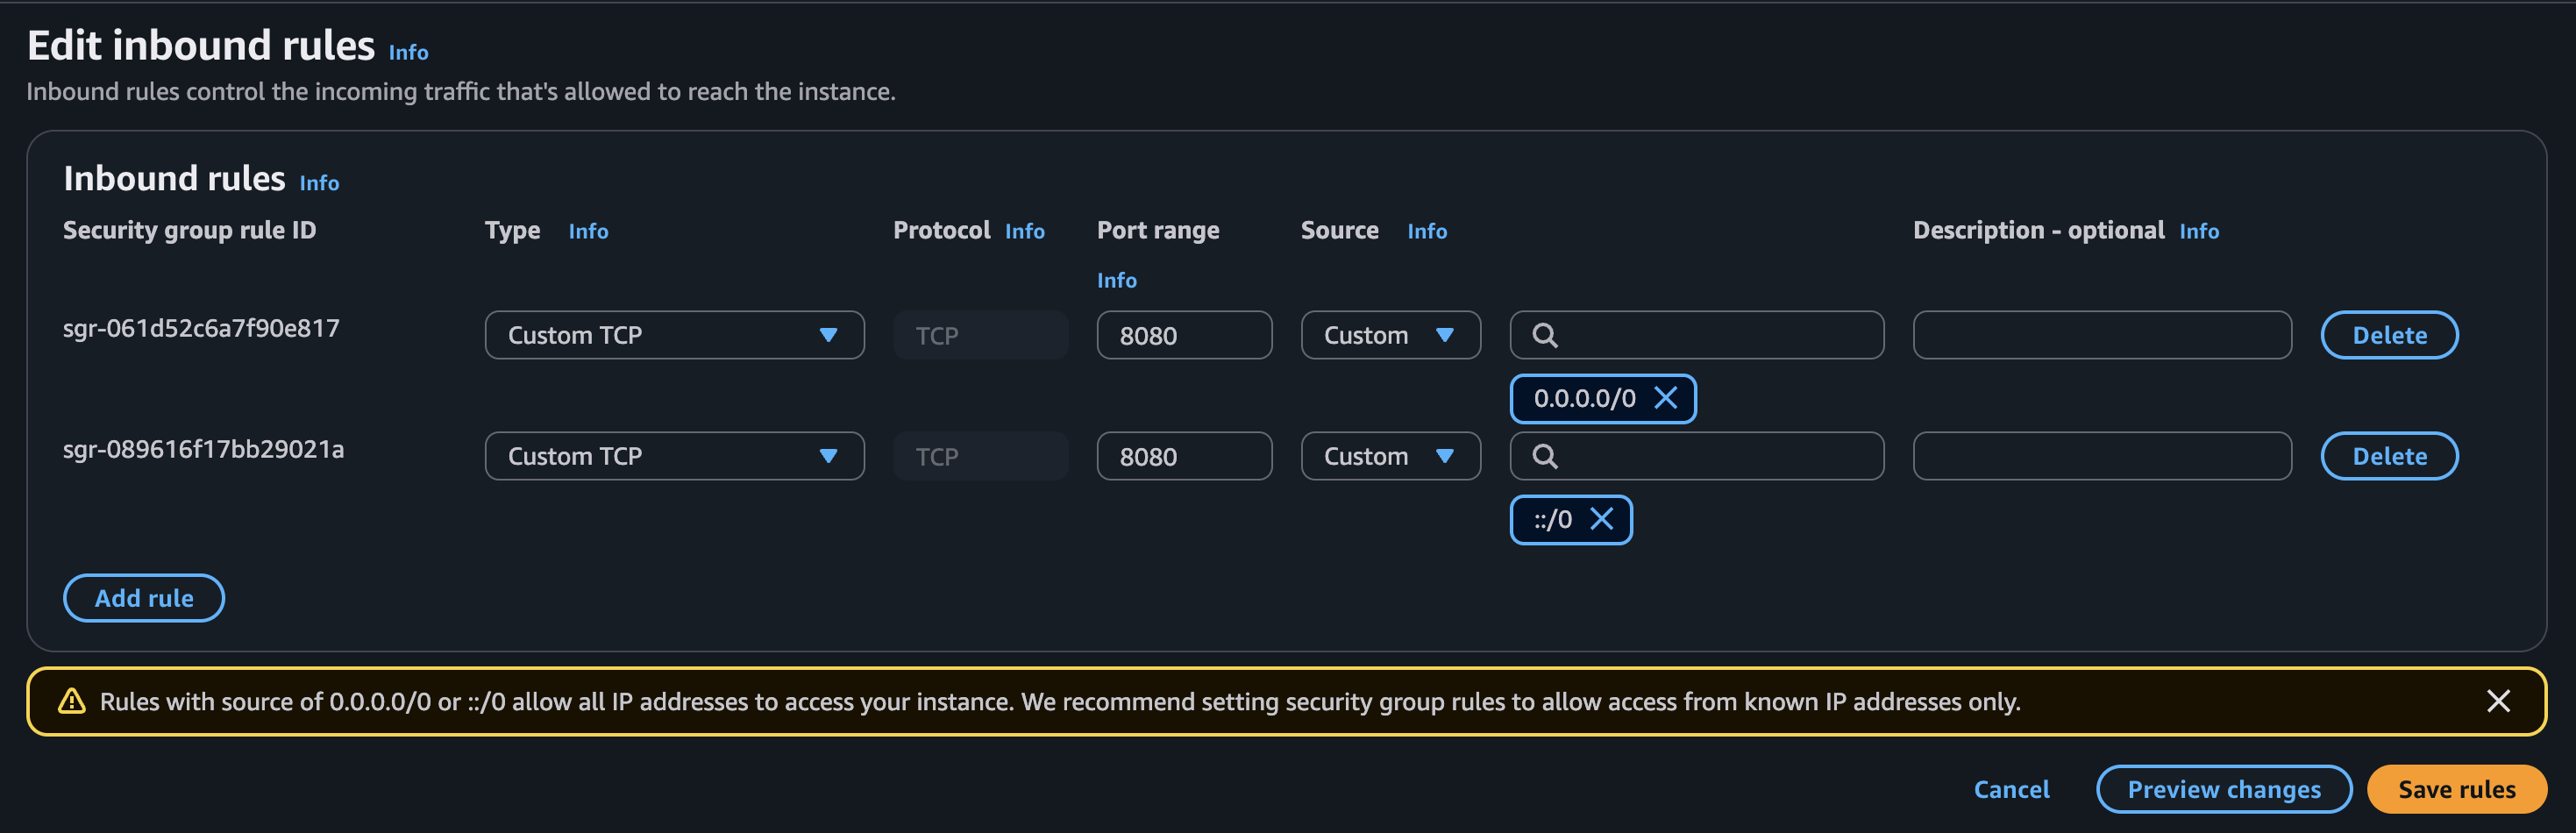
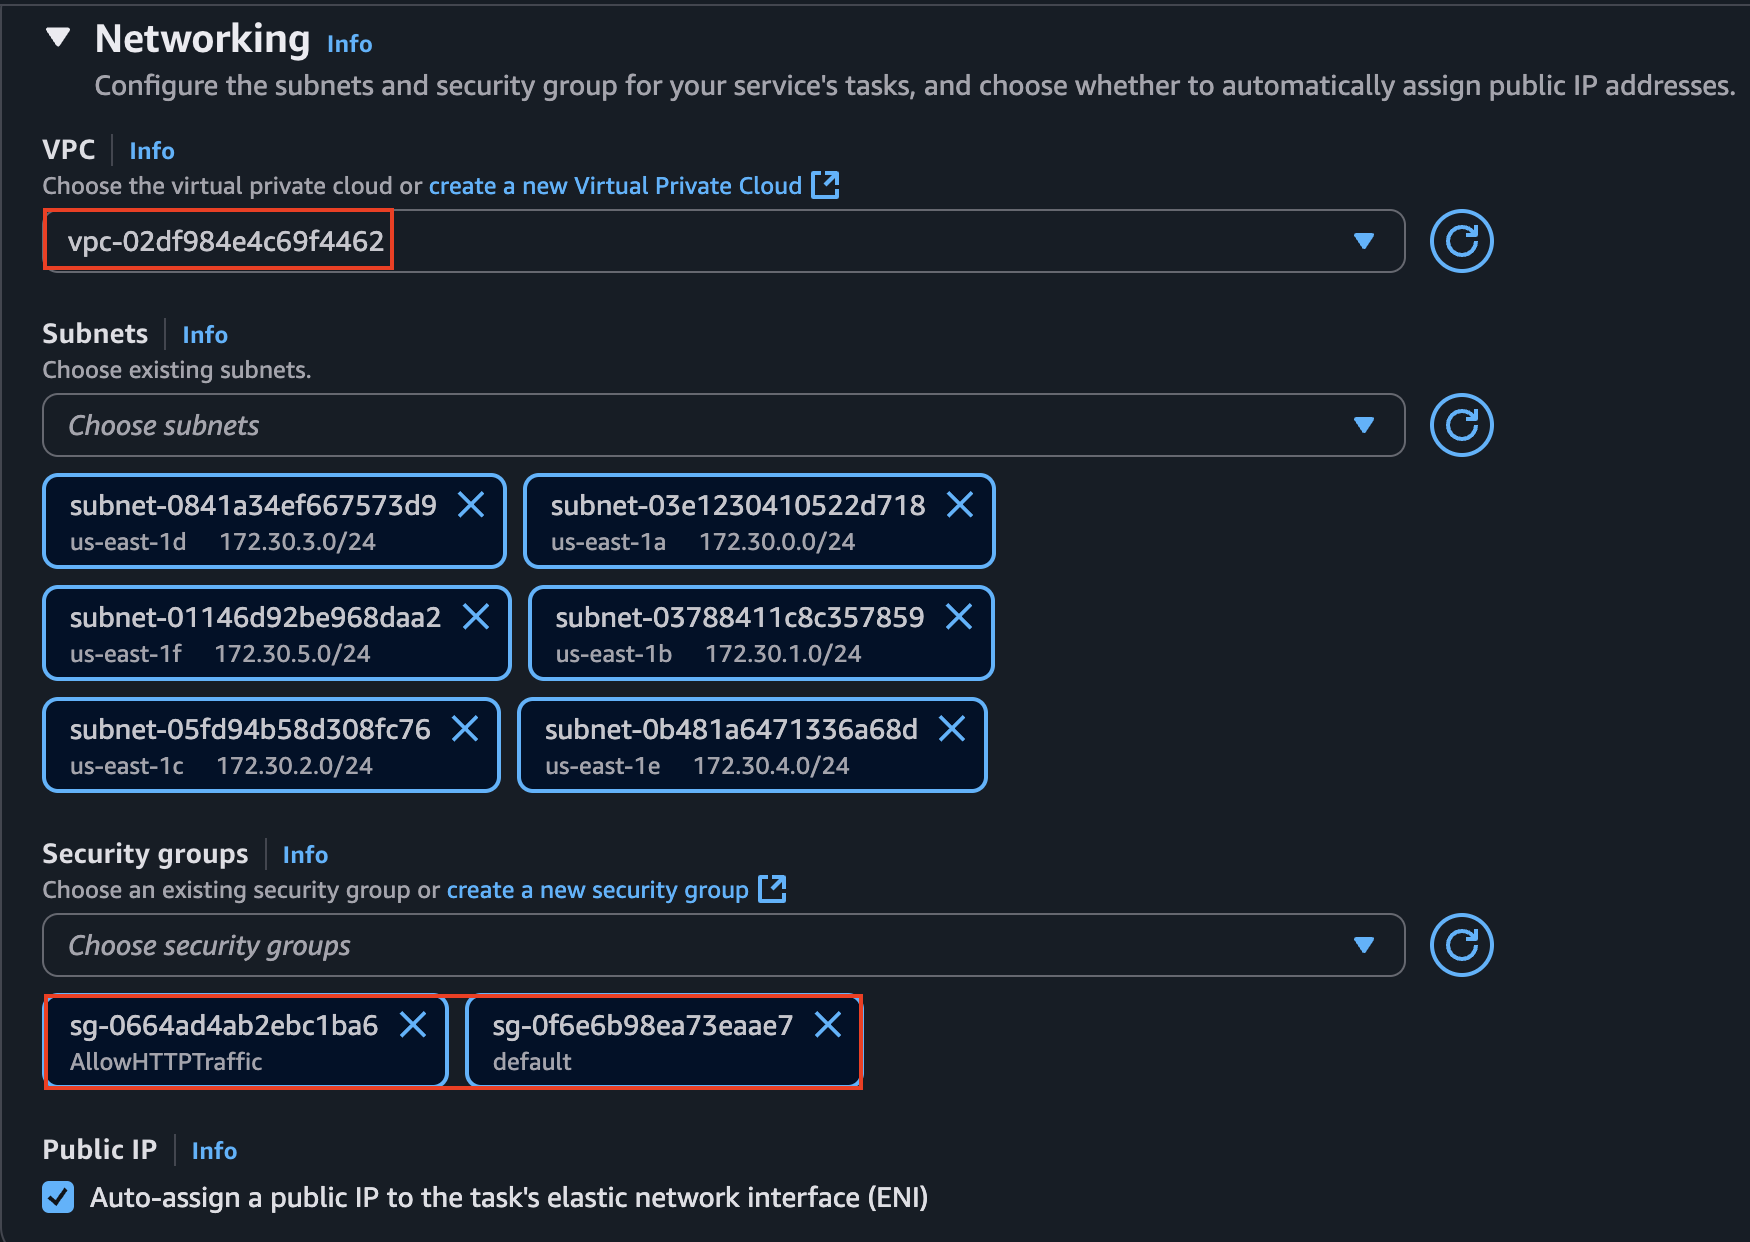
Finally, once we created the Task Definition, we will configure a Service. What is very important here is check that the application will be in the same VPC of our database and add a security group that allows traffic on port 8080 (since this is the port our application uses), apart from the default one that allows the application to communicate with the database.
That’s why I created a custom security group and added it to the Service. The configuration should look like this:
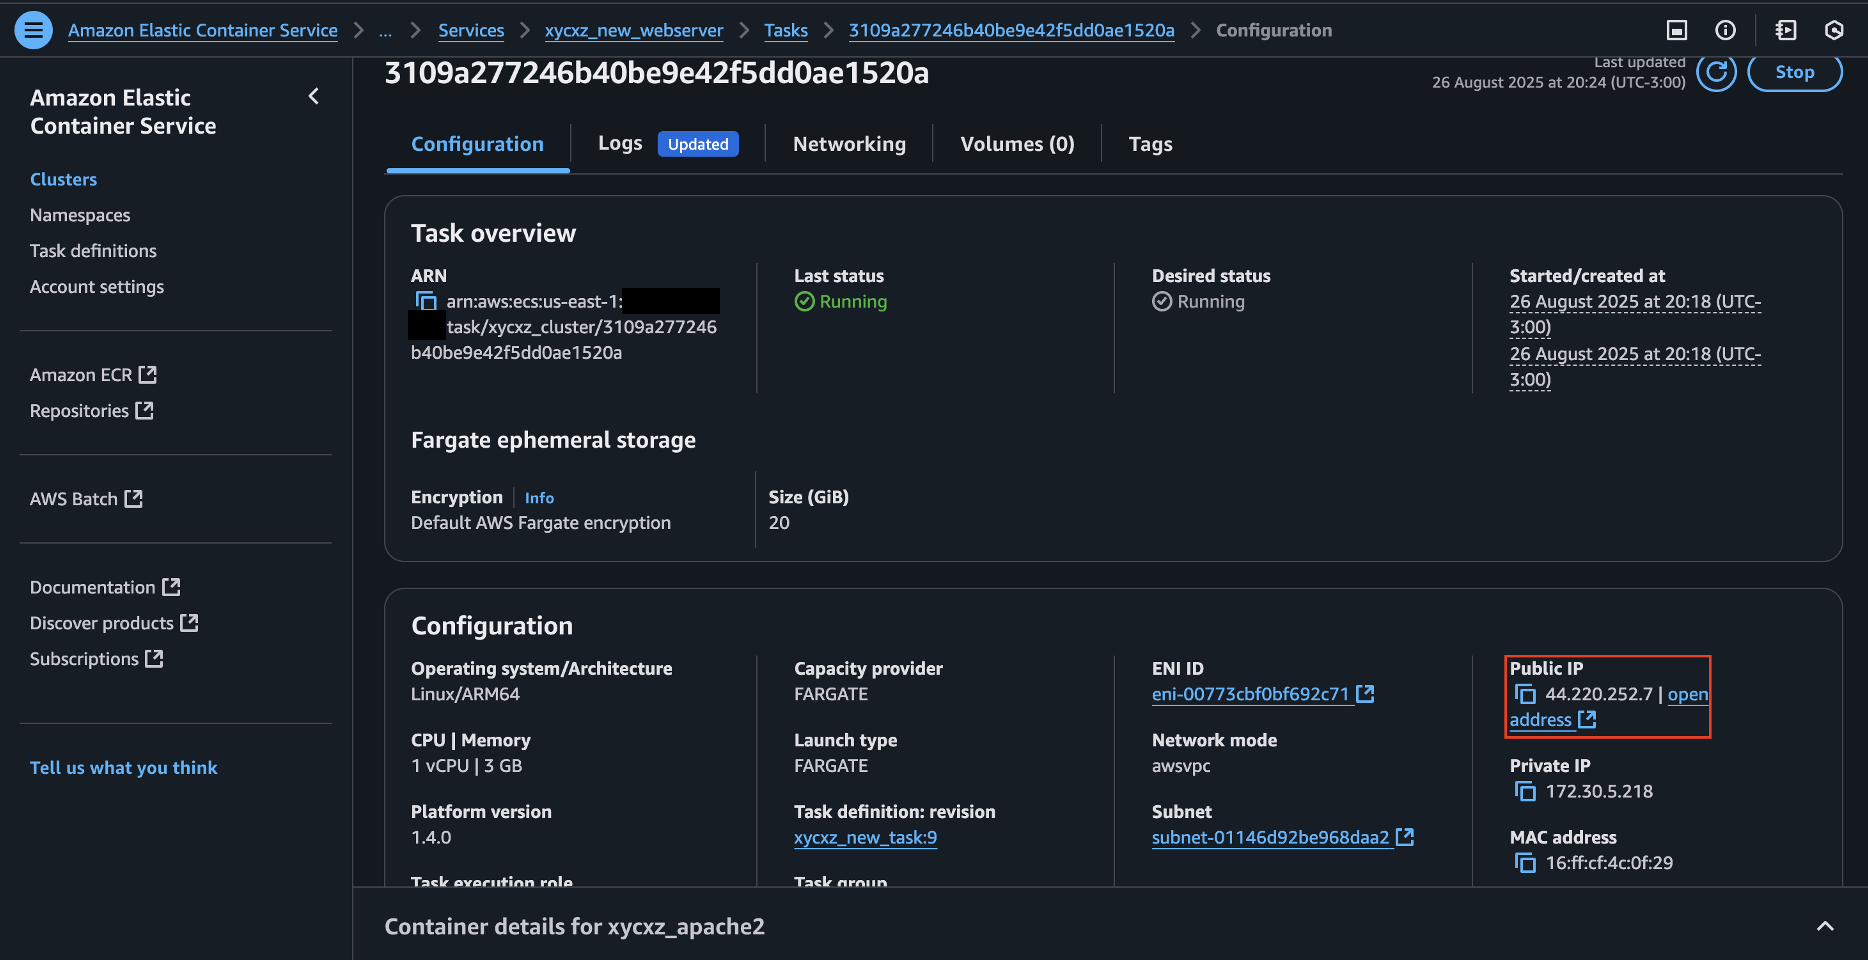
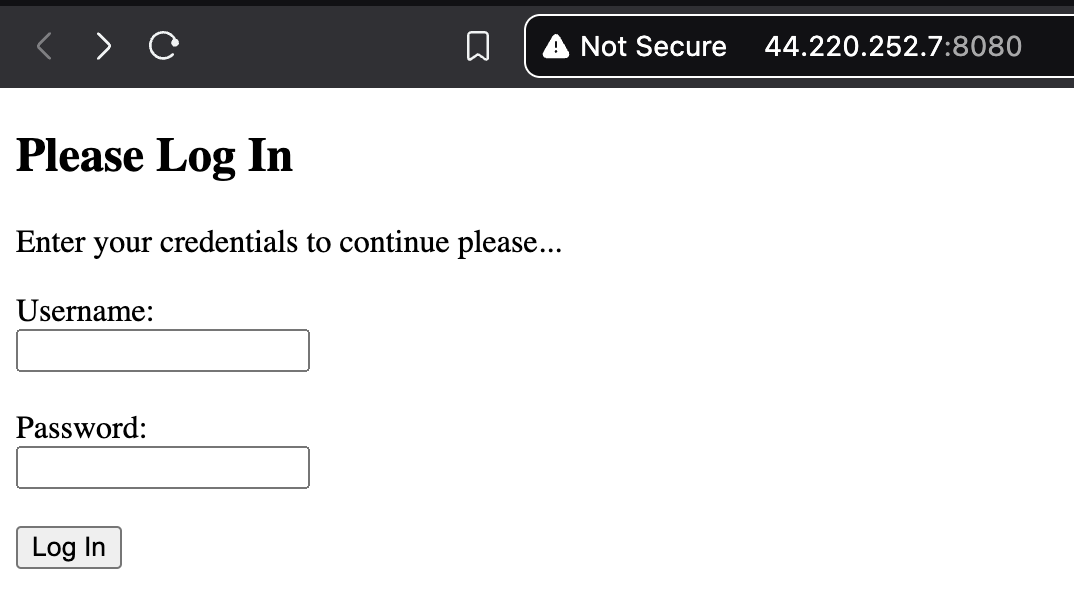
If we navigate to the public IPv4 address of the task, we will get the following error:
1
2
3
4
Fatal error: Uncaught PDOException: SQLSTATE[HY000] [1045] Access denied for
user 'xycxz_web'@'<IPv4>' (using password: YES) in
/var/www/html/db_connect.php:45 Stack trace: #0 /var/www/html/index.php(6):
require_once() #1 {main} thrown in **/var/www/html/db_connect.php** on line 45
This error means that we successfully tried to connect to the database, but our user still does not exist. To fix this issue, we will copy our previously created .sql file (a bit modified, as you can see below) into the database. We will use an EC2 instance that is on the same network as our database and use the mysql command to pass in our database:
xycxz_web.sql
1
2
3
4
5
6
7
8
9
10
11
12
13
14
15
16
17
18
19
20
21
22
23
24
25
26
27
28
29
30
31
32
33
34
35
36
37
38
39
40
41
42
43
44
45
46
47
48
49
50
51
52
53
54
55
56
57
58
59
60
61
62
63
64
65
66
67
SET SQL_MODE = "NO_AUTO_VALUE_ON_ZERO";
START TRANSACTION;
SET time_zone = "+00:00";

/*!40101 SET @OLD_CHARACTER_SET_CLIENT=@@CHARACTER_SET_CLIENT */;
/*!40101 SET @OLD_CHARACTER_SET_RESULTS=@@CHARACTER_SET_RESULTS */;
/*!40101 SET @OLD_COLLATION_CONNECTION=@@COLLATION_CONNECTION */;
/*!40101 SET NAMES utf8mb4 */;

--
-- Database: `xycxz_web`
--

CREATE DATABASE IF NOT EXISTS `xycxz_web`;
USE `xycxz_web`;

CREATE USER 'xycxz_web'@'%' IDENTIFIED BY '<PASSWORD>';
GRANT SELECT, INSERT, UPDATE, DELETE ON `xycxz_web`.* TO 'xycxz_web'@'%';

-- --------------------------------------------------------

--
-- Table structure for table `users`
--

CREATE TABLE `users` (
`id` int NOT NULL,
`user` varchar(55) NOT NULL,
`password` varchar(255) NOT NULL
) ENGINE=InnoDB DEFAULT CHARSET=utf8mb4 COLLATE=utf8mb4_0900_ai_ci;

--
-- Dumping data for table `users`
--

INSERT INTO `users` (`id`, `user`, `password`) VALUES

(1, 'xycxz_ftp', '2c103f2c4ed1e59c0b4e2e01821770fa'),
(2, 'xycxz_ssh', '42f749ade7f9e195bf475f37a44cafcb');

--
-- Indexes for dumped tables
--

--
-- Indexes for table `users`
--

ALTER TABLE `users`
ADD PRIMARY KEY (`id`);

--
-- AUTO_INCREMENT for dumped tables
--

--
-- AUTO_INCREMENT for table `users`
--

ALTER TABLE `users`
MODIFY `id` int NOT NULL AUTO_INCREMENT, AUTO_INCREMENT=3;

COMMIT;

/*!40101 SET CHARACTER_SET_CLIENT=@OLD_CHARACTER_SET_CLIENT */;
/*!40101 SET CHARACTER_SET_RESULTS=@OLD_CHARACTER_SET_RESULTS */;
/*!40101 SET COLLATION_CONNECTION=@OLD_COLLATION_CONNECTION */;
1
2
# Passing our file as stdin to the mysql command
mysql -h <RDS_ENDPOINT> -u admin -p < xycxz_web.sql

Now we can update our service and run a new task. We will see our application connected and running!
Next Steps
This was an awesome journey so far! We will constantly be using the concepts we have explored so far to continue building our knowledge and start adding more complexity to our applications. Well done!