Domain - AWS
Objective
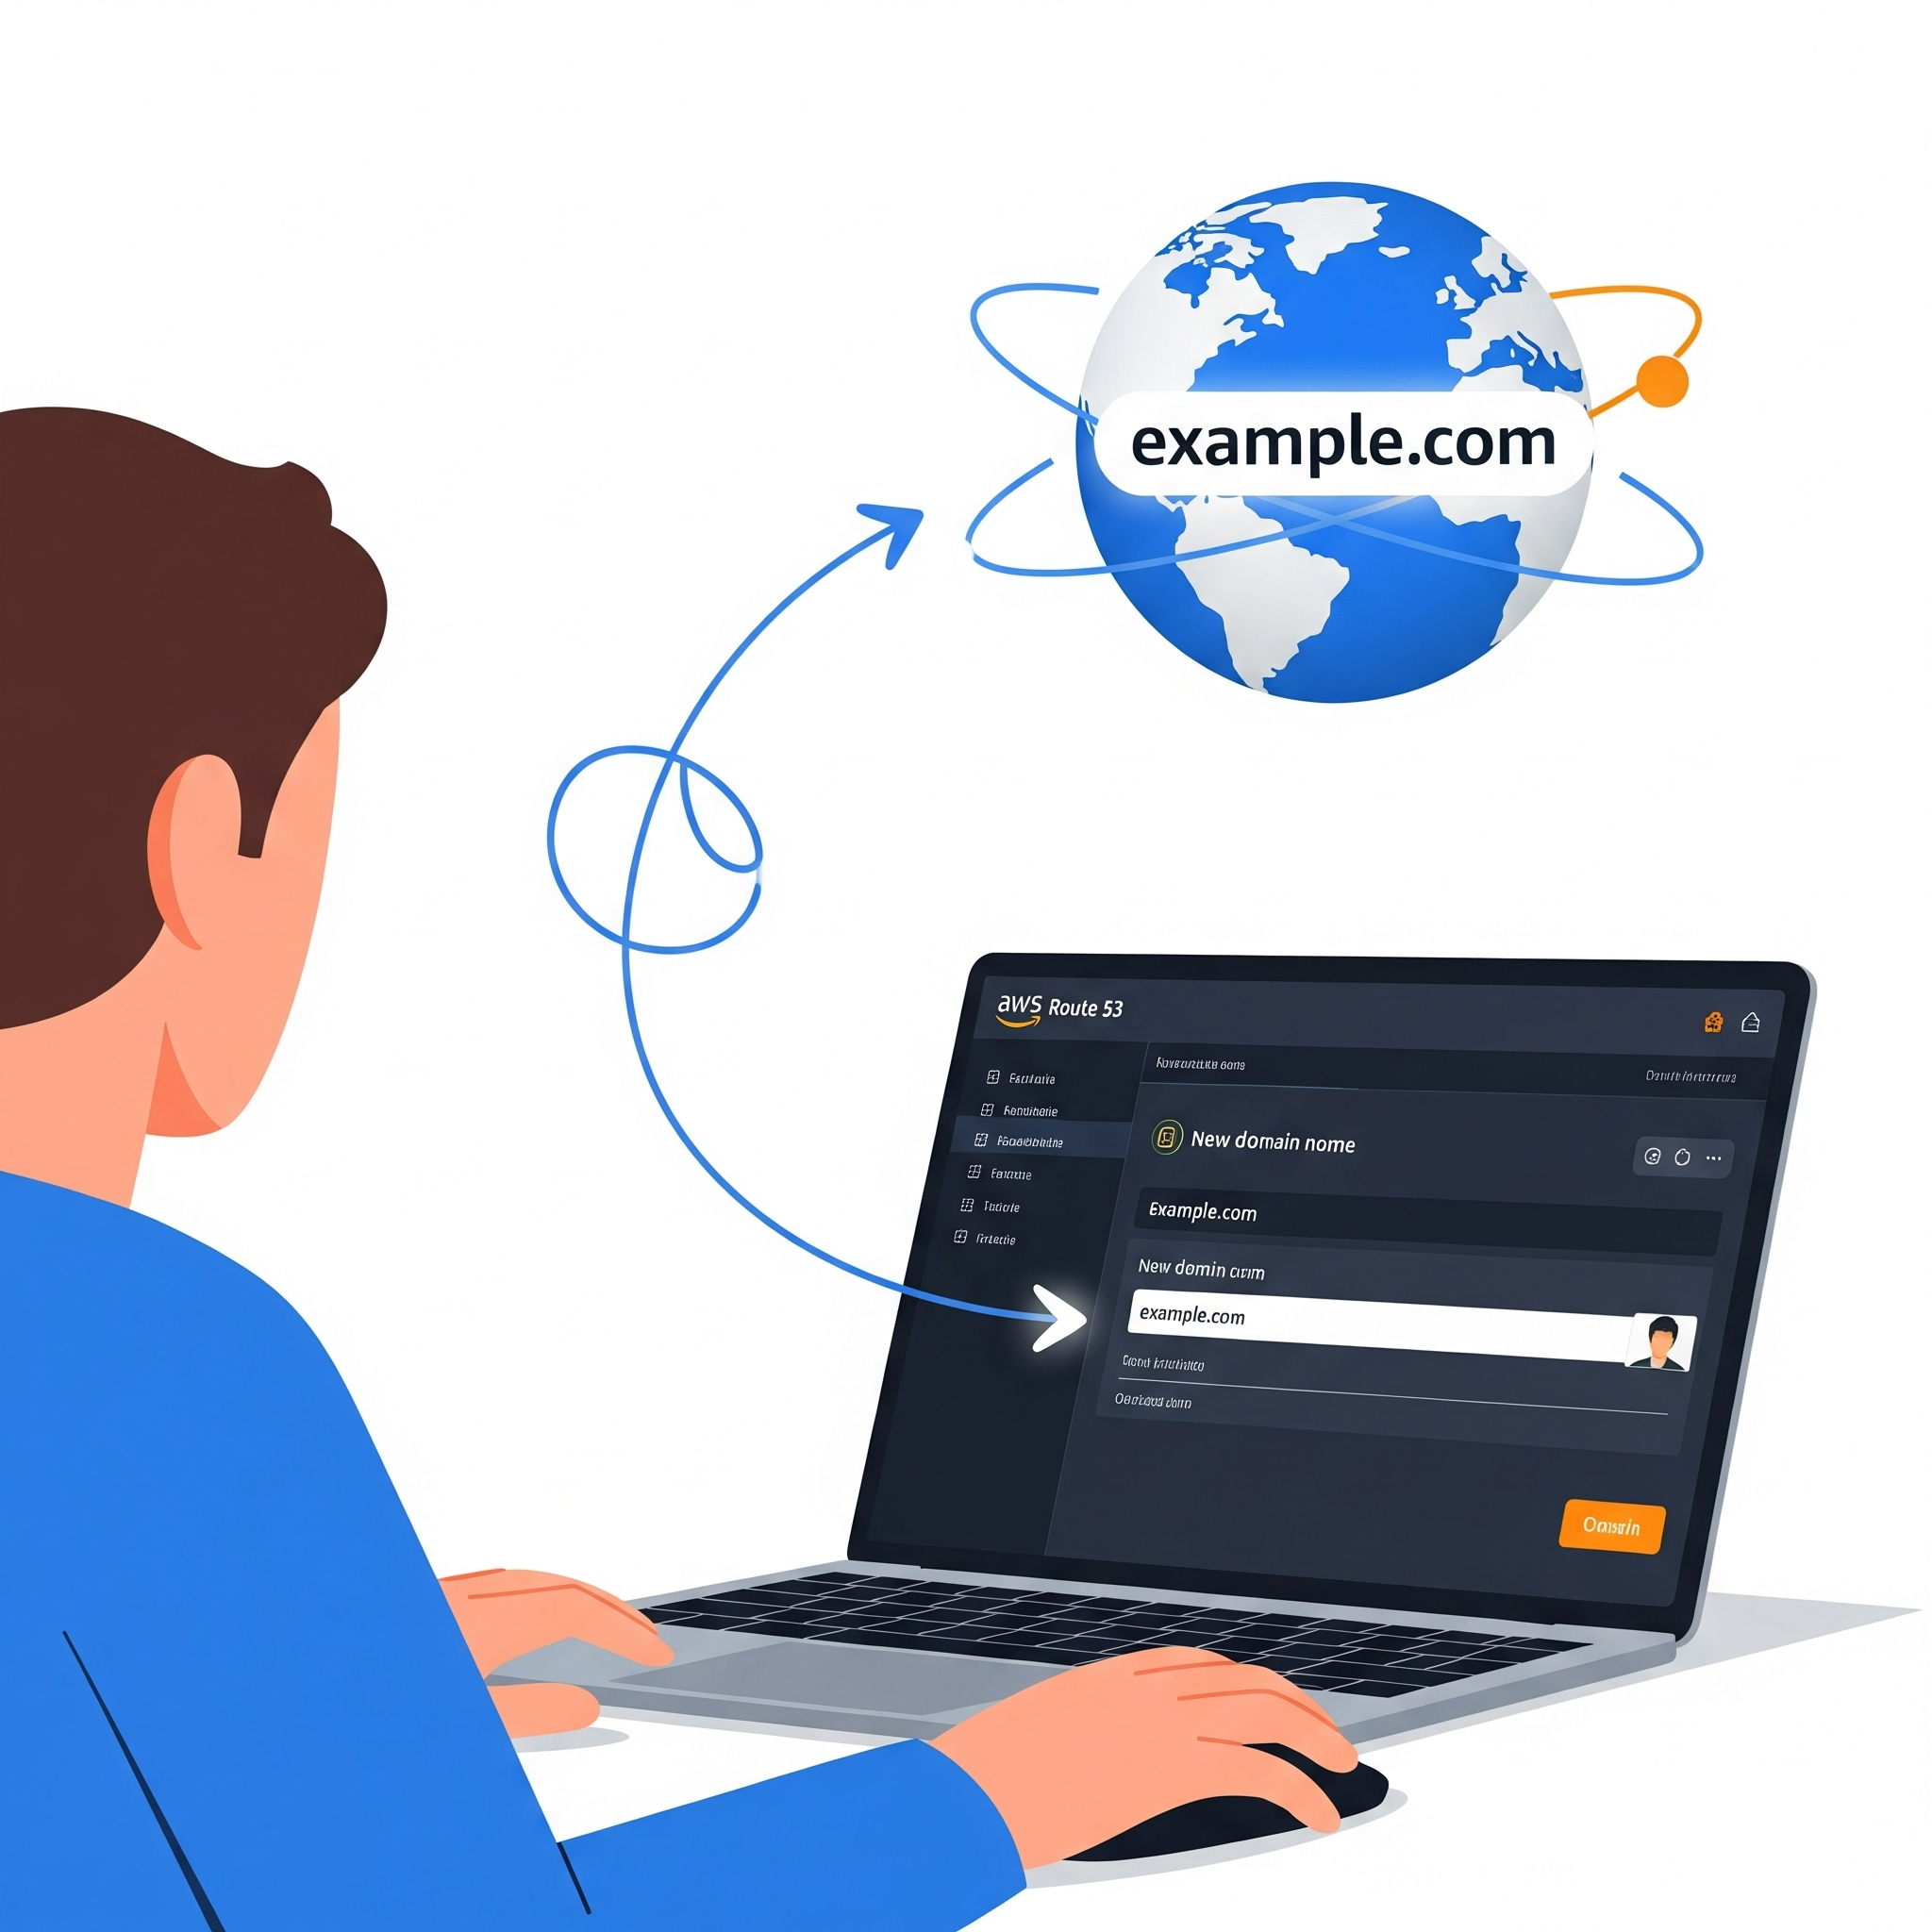
After viewing how we can deploy our own EC2 instance to then incorporate our Docker containers on it, it is time for us to purchase a real domain with AWS and configure it as we want.
This will give our web application a professional domain name, improving branding and accessibility. Without further ado, let’s explore a bit more this AWS feature.
Prerequisites
An active AWS account.
An EC2 instance running with an Elastic IP address attached. Check how I set this up here
Getting Started
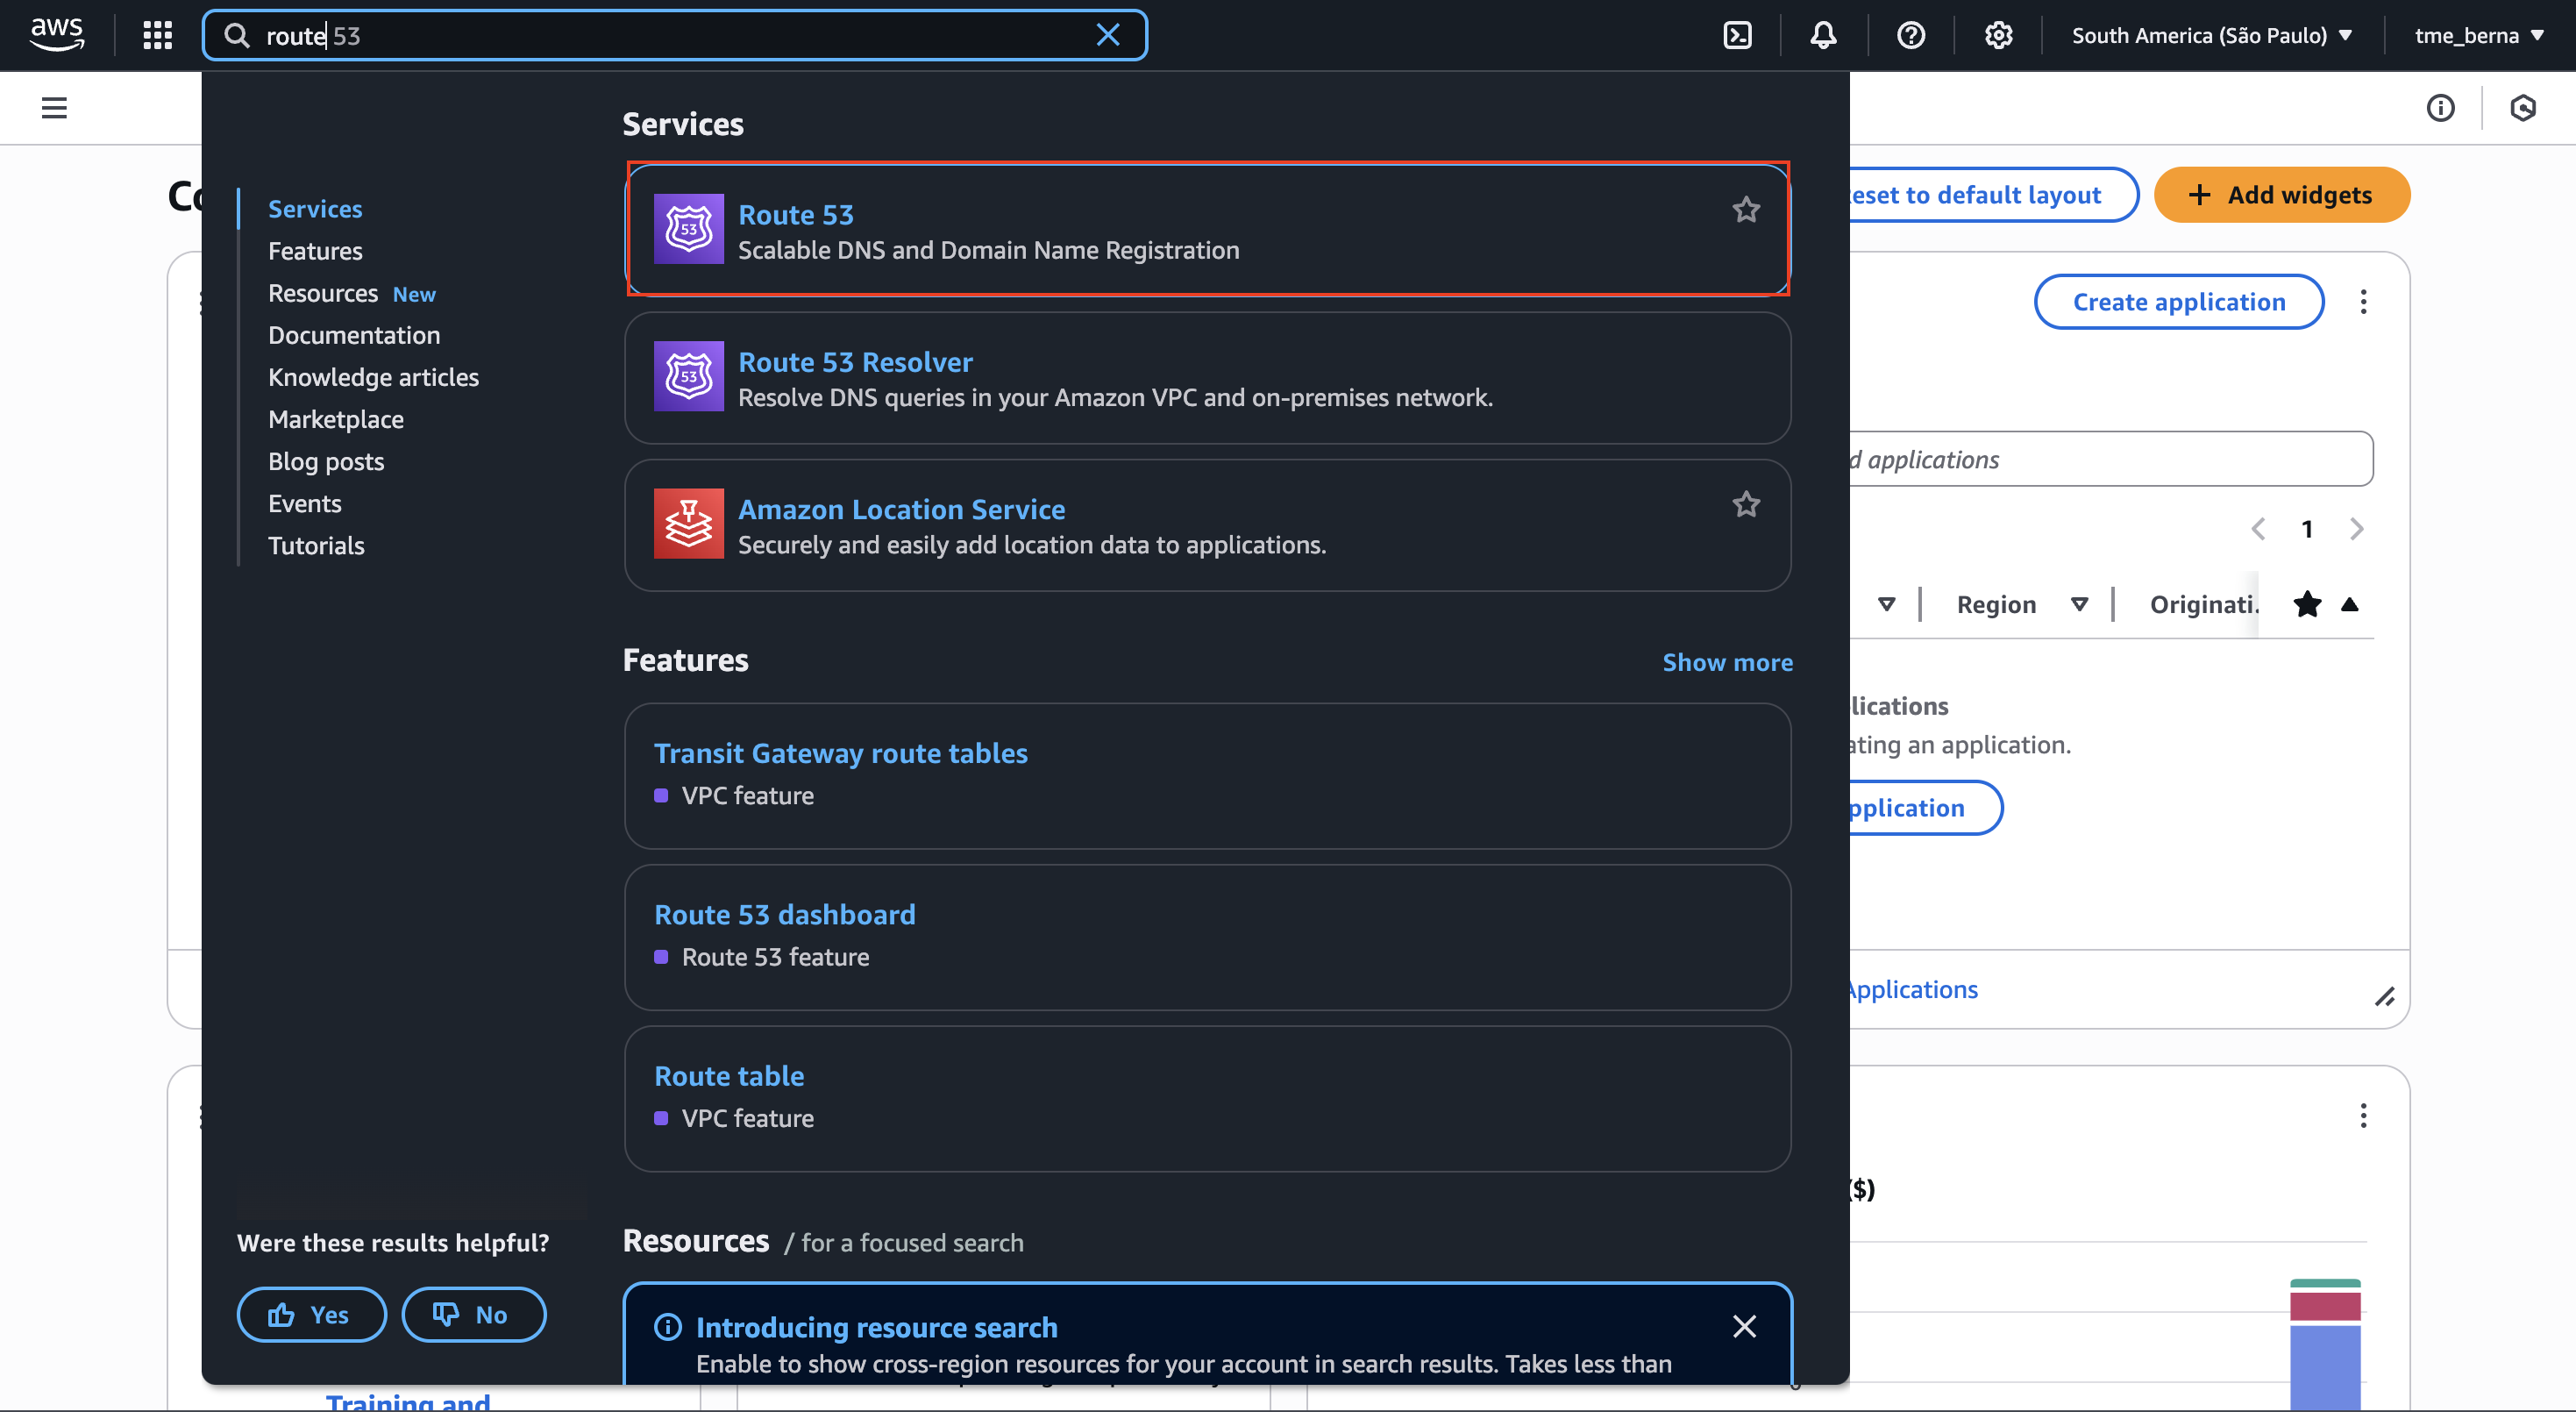
Because we are already using Amazon AWS, we will use Amazon Route 53 to set up our domain. Amazon Route 53 is the domain registrar provided by AWS, which allows us to easily purchase a domain and configure it as well.
Once again, we will use the search feature to make use of this service. The images below illustrate the steps to reach the domain options we can choose:
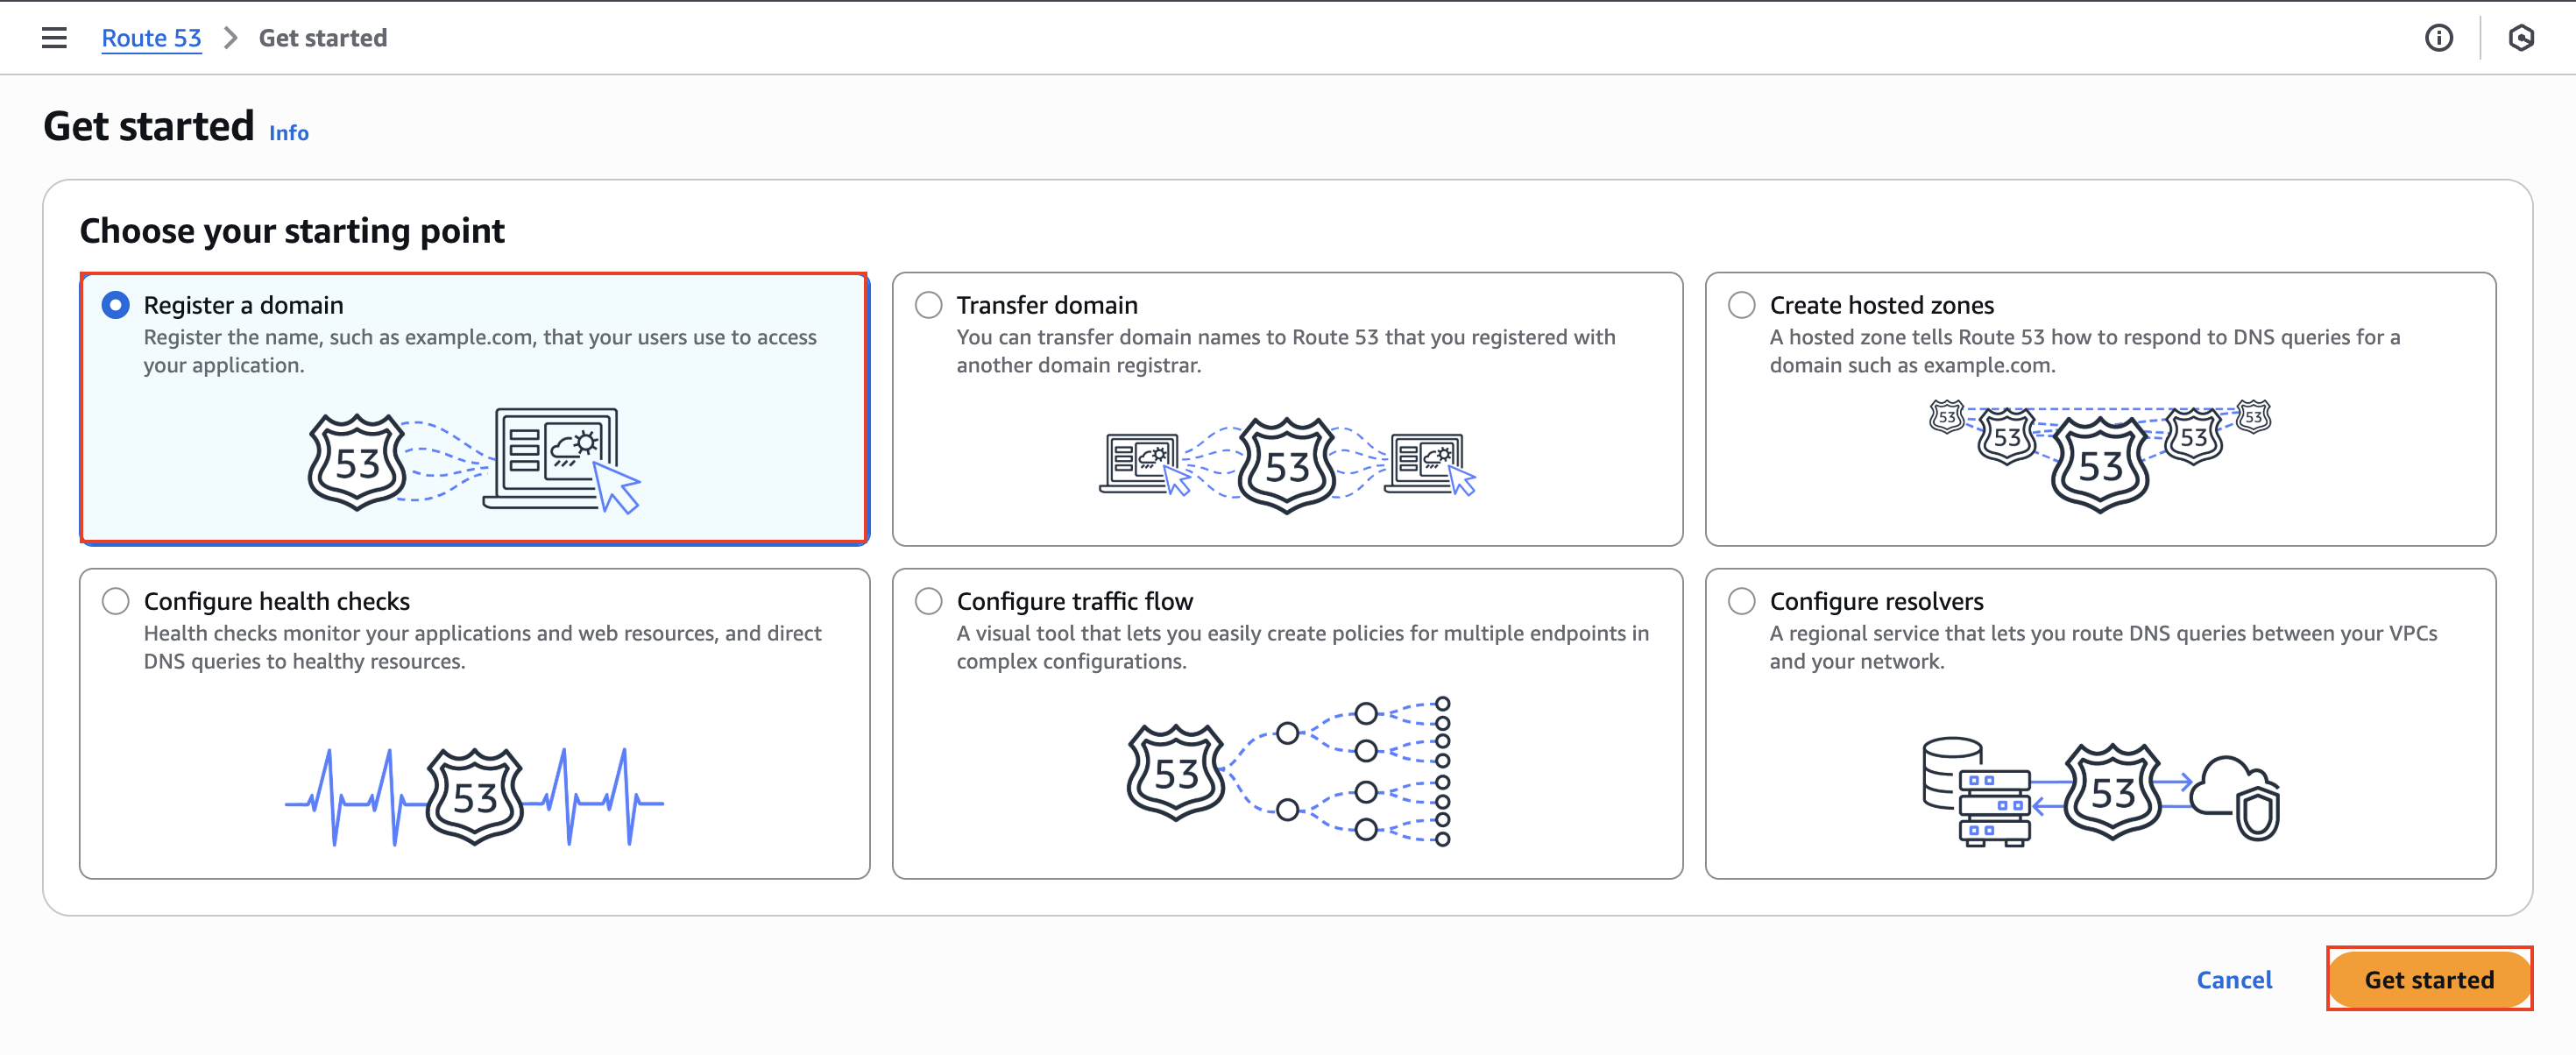
After clicking on Get started, we will see the following:
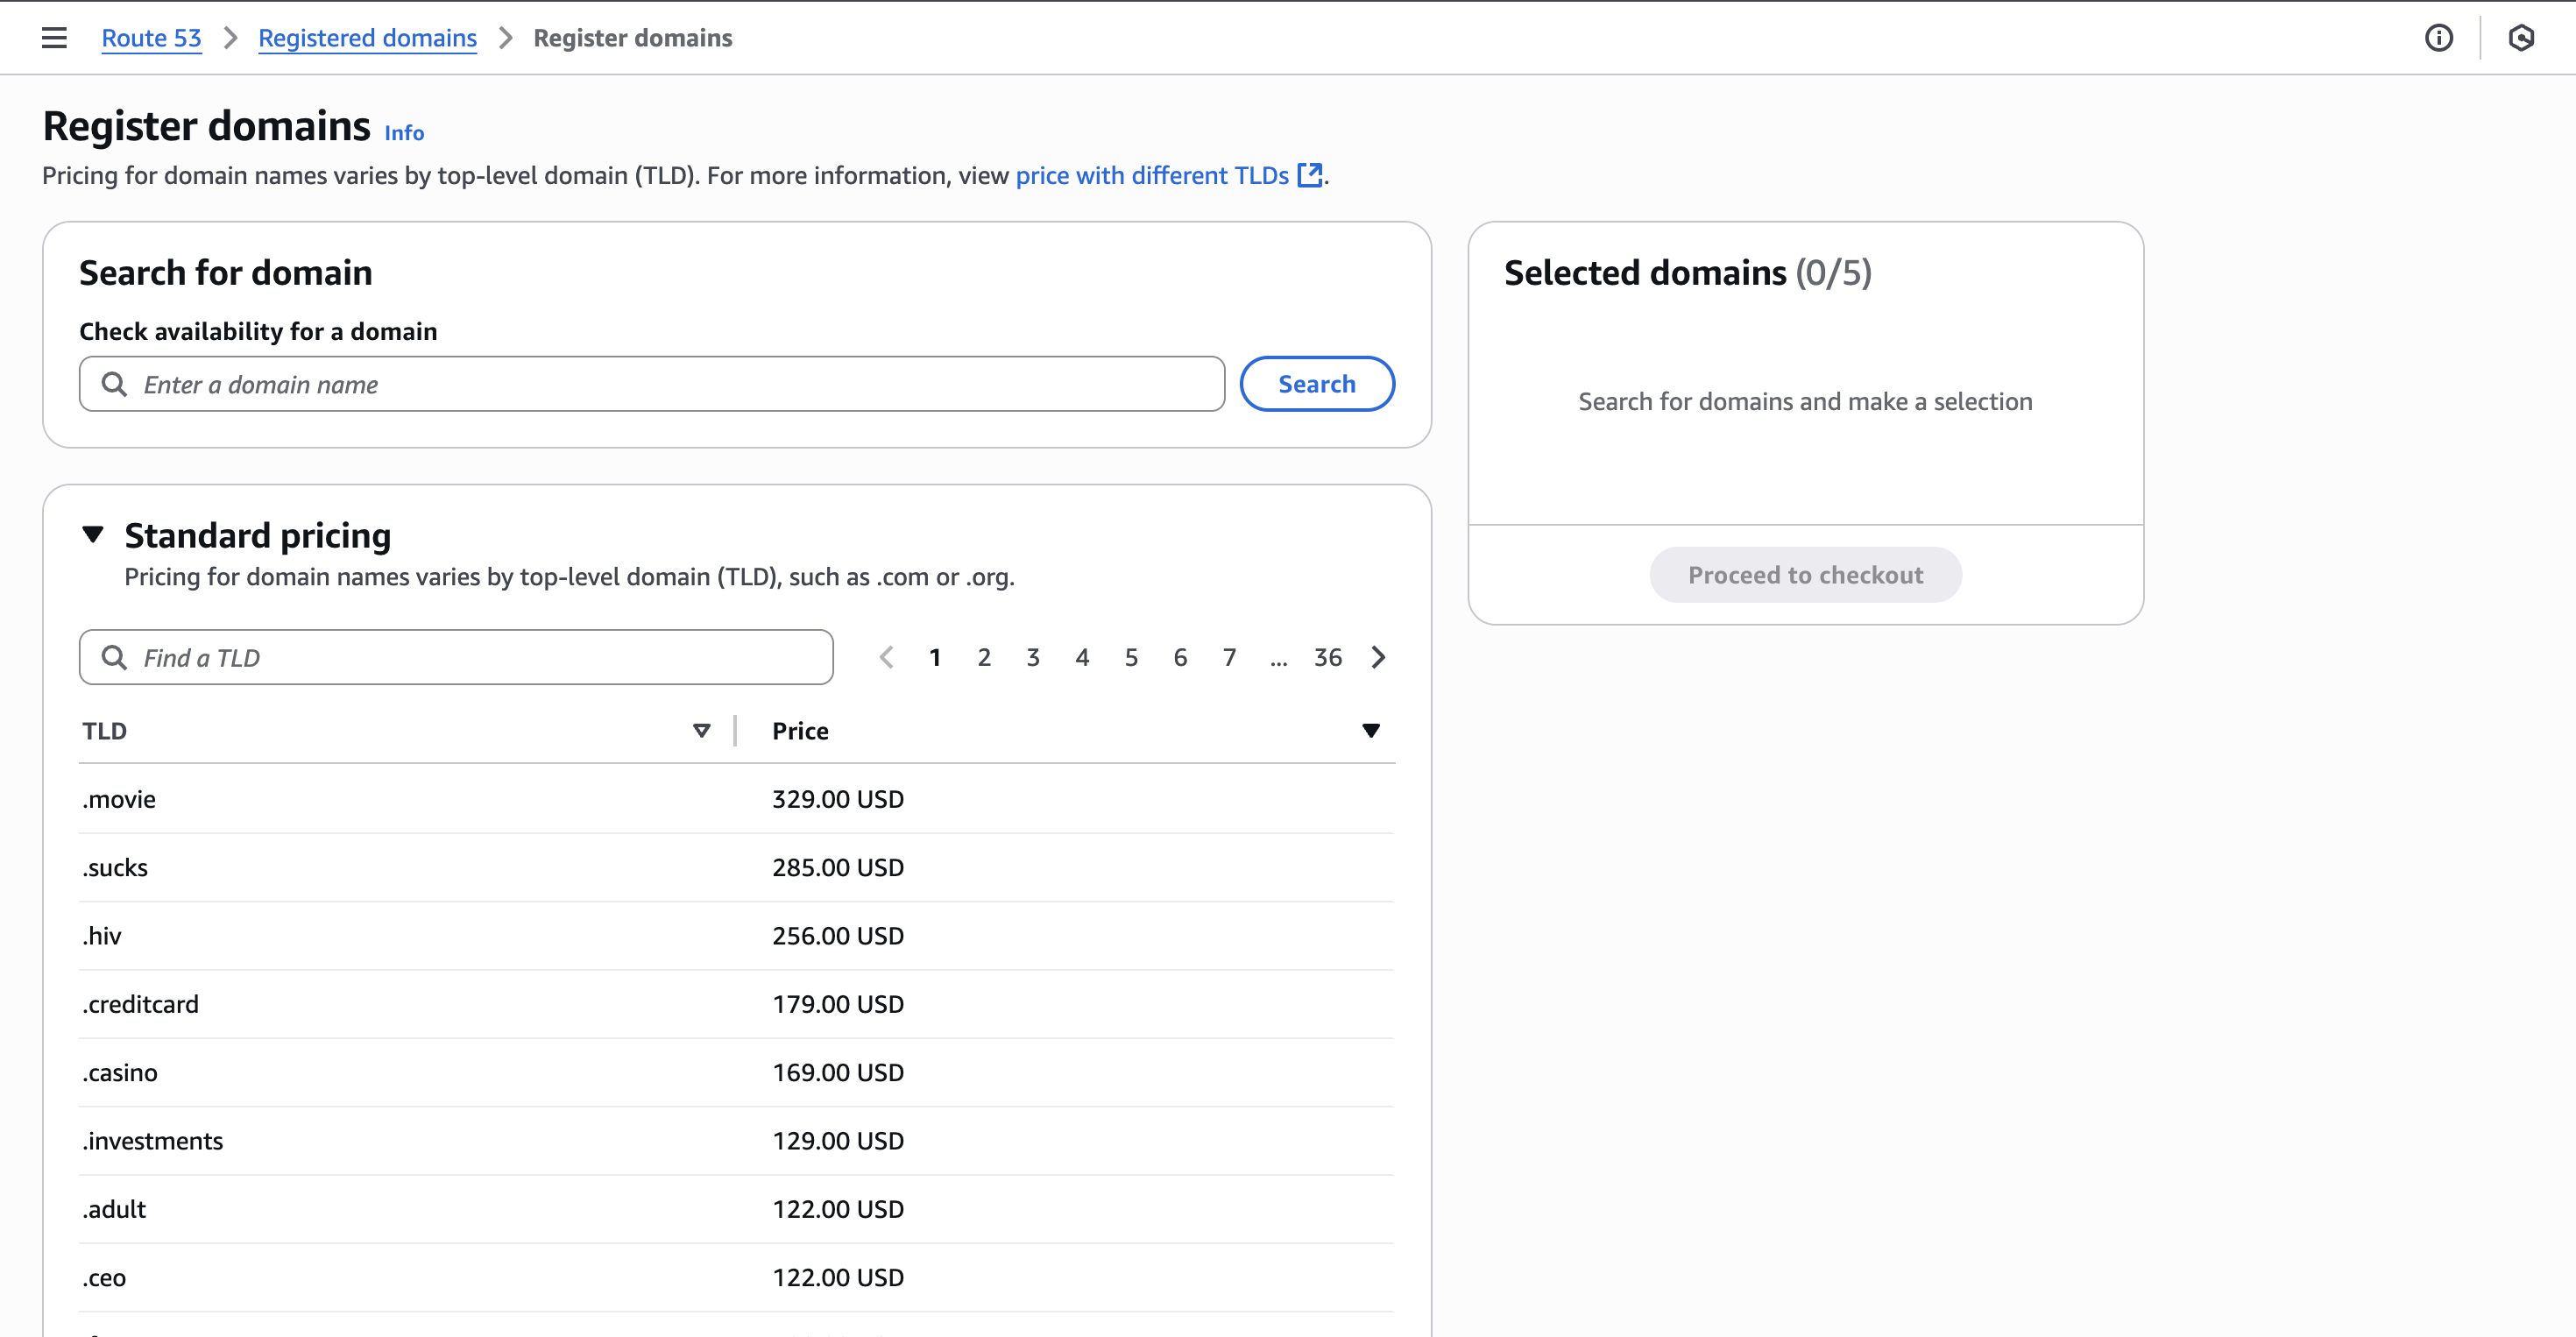
Here we have the options to give our domain a customised name and also choose our Top Level Domain (TLD). If we click on Price, the prices will be ordered from lowest to highest. In our case, we will be buying the cheapest domain for demonstration purposes, but you can buy any of them depending on your needs.
Inside the Enter a domain name placeholder, we can choose whatever name for our domain. Make sure to include the corresponding TLD (to make it quicker) and then click on Search:
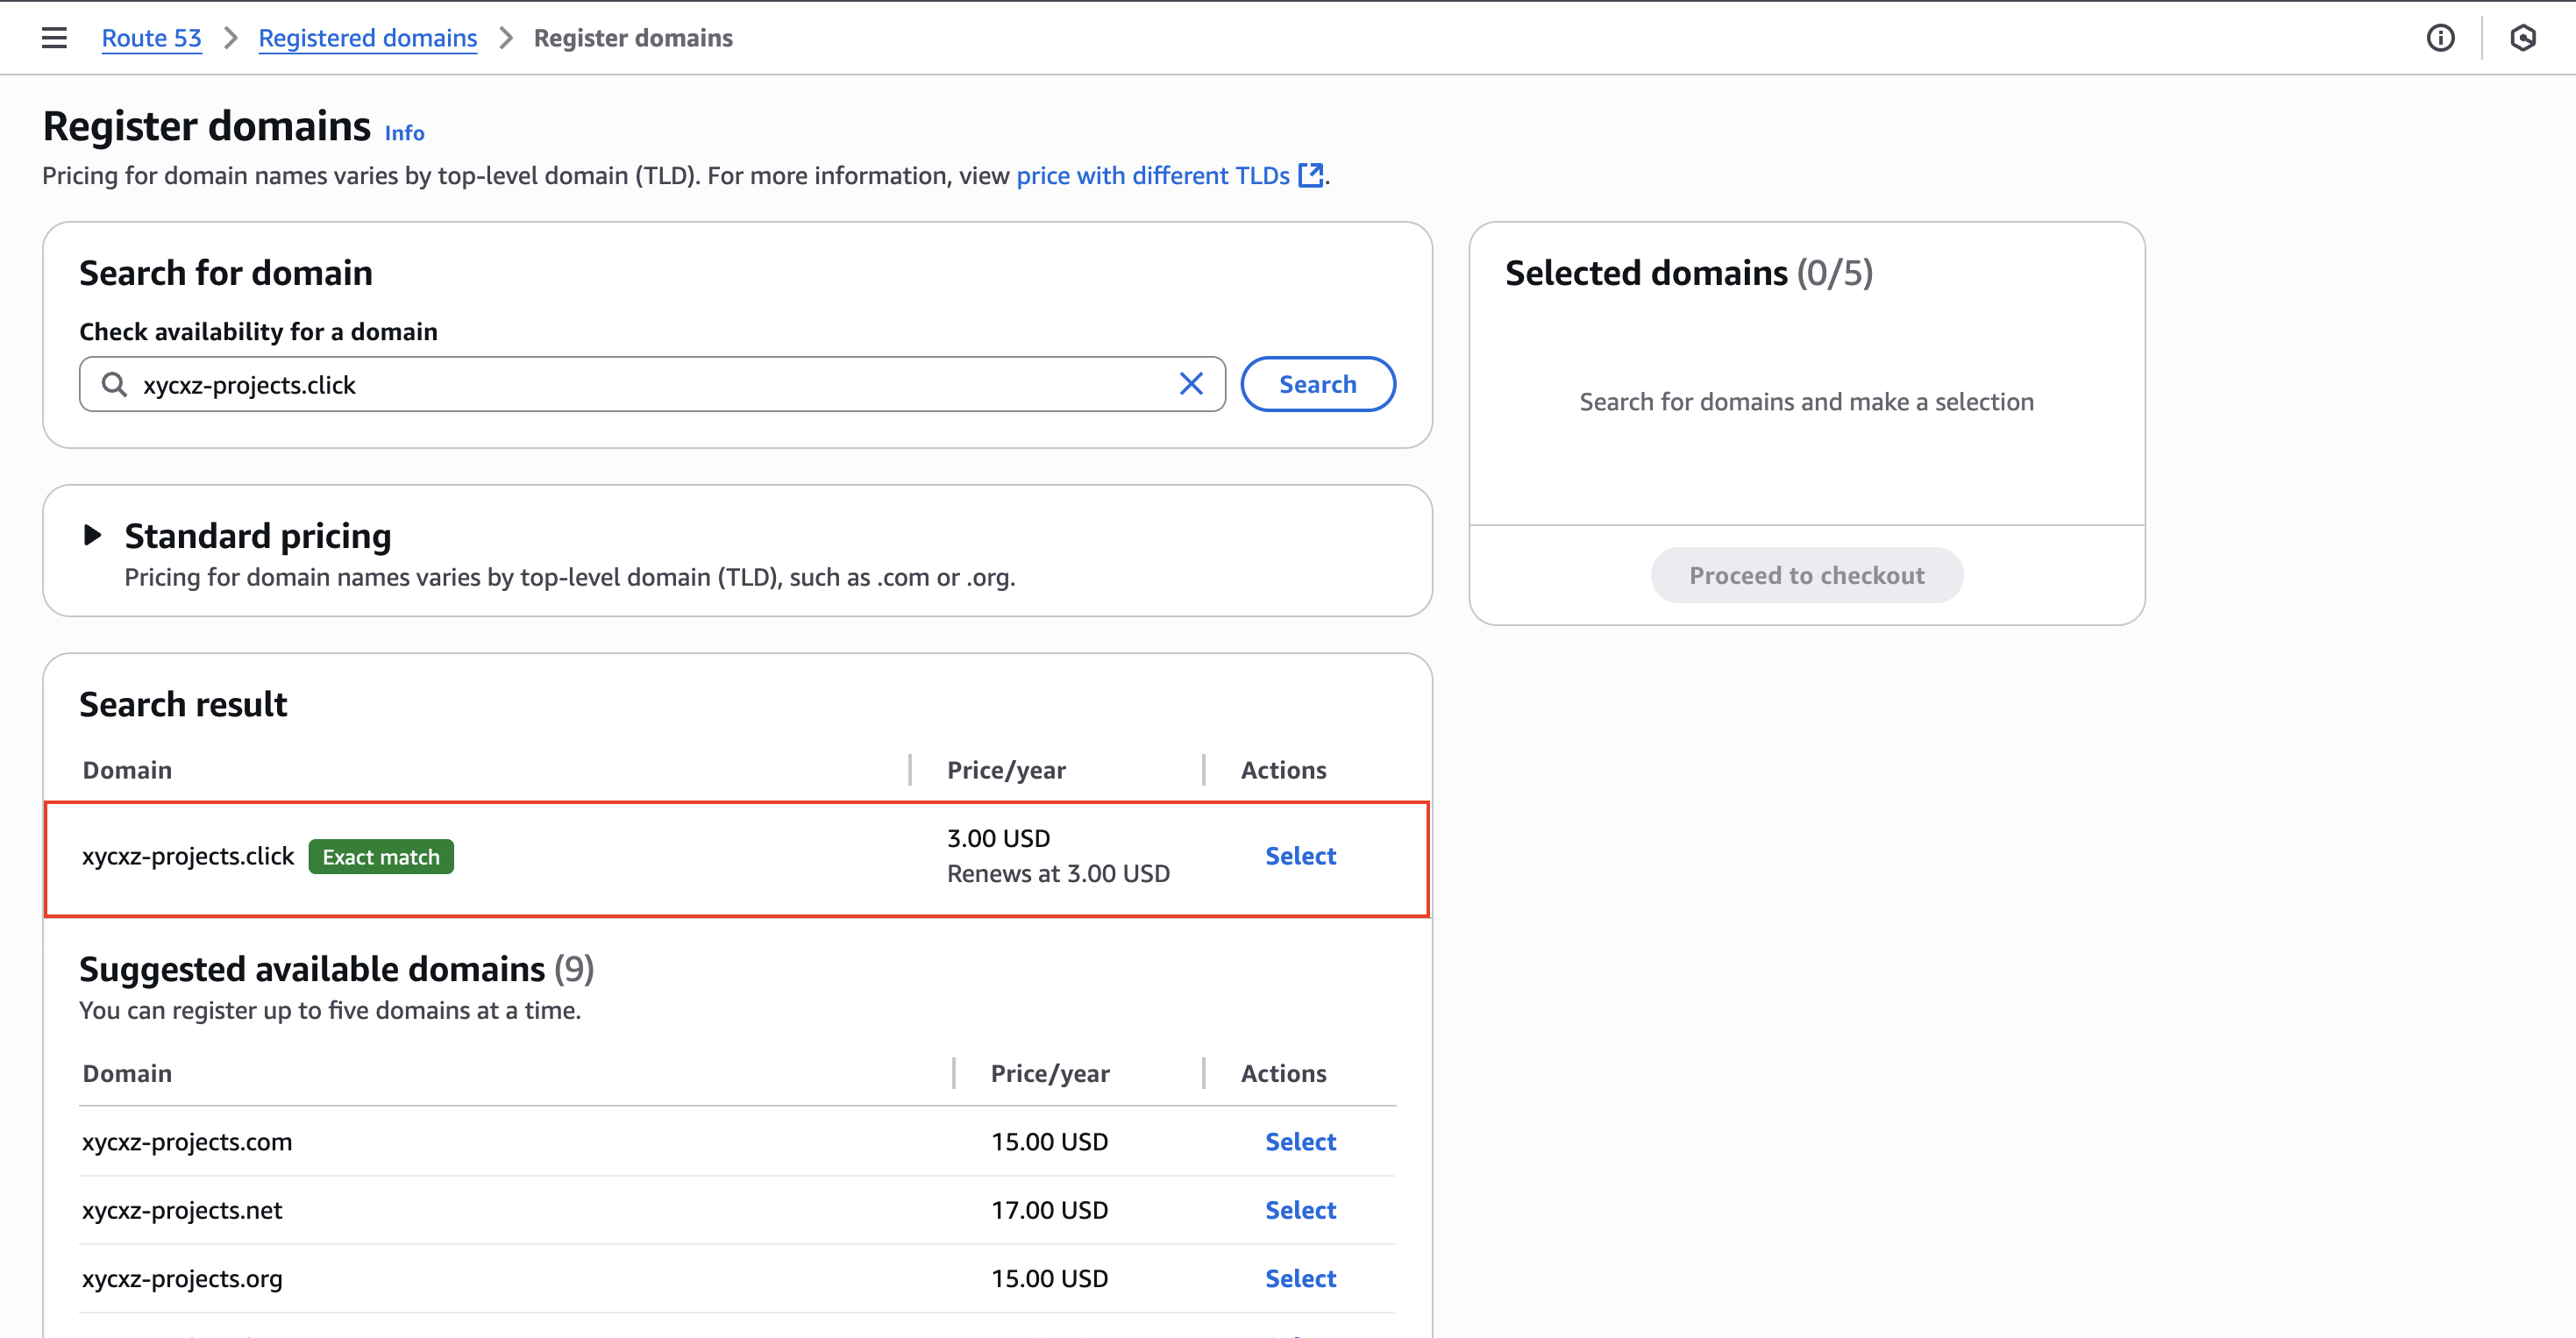
After this, we can click on Select and then Proceed to checkout:
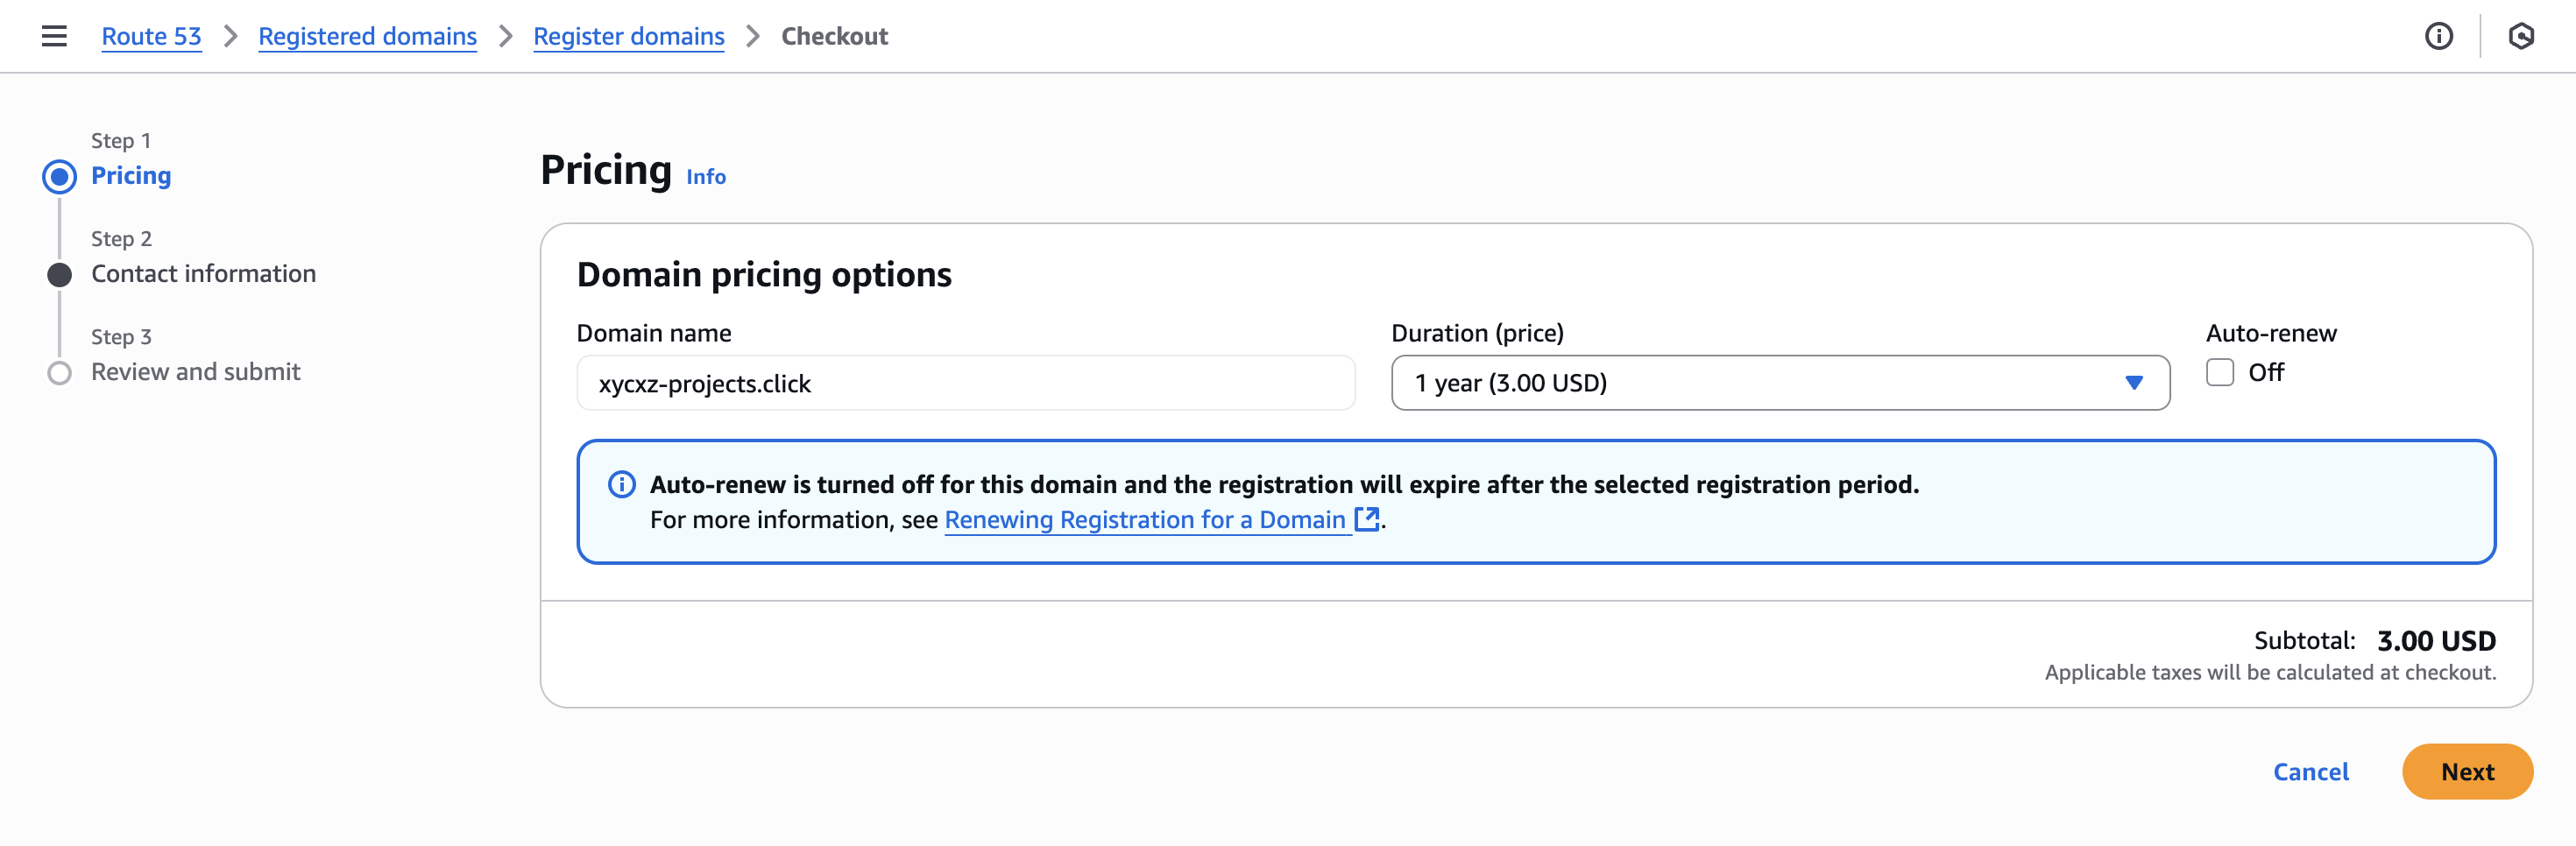
In here we have the option to auto-renew the domain. Since I am not planning to use this domain anymore, I will just uncheck this box. However, there is something important I have to point out here: if a domain registration expires, it can be difficult and expensive to get back, or it could be purchased by someone else entirely, causing major disruptions to the website and email. Please, leave this feature on if you are planning to keep the domain because someone with malicious intentions can steal it!
When clicking on Next, Amazon will ask us for some contact information that we need to give in order to claim this domain and make sure it is under our name. Obviously, I won’t show my data, but you can proceed with yours!
Note: When completing the contact information form, make sure to leave the Privacy protection box checked! This is a very important security feature. Also, bear in mind that depending on the TLD you choose, you might have to provide additional data that would not be requested on another domain.
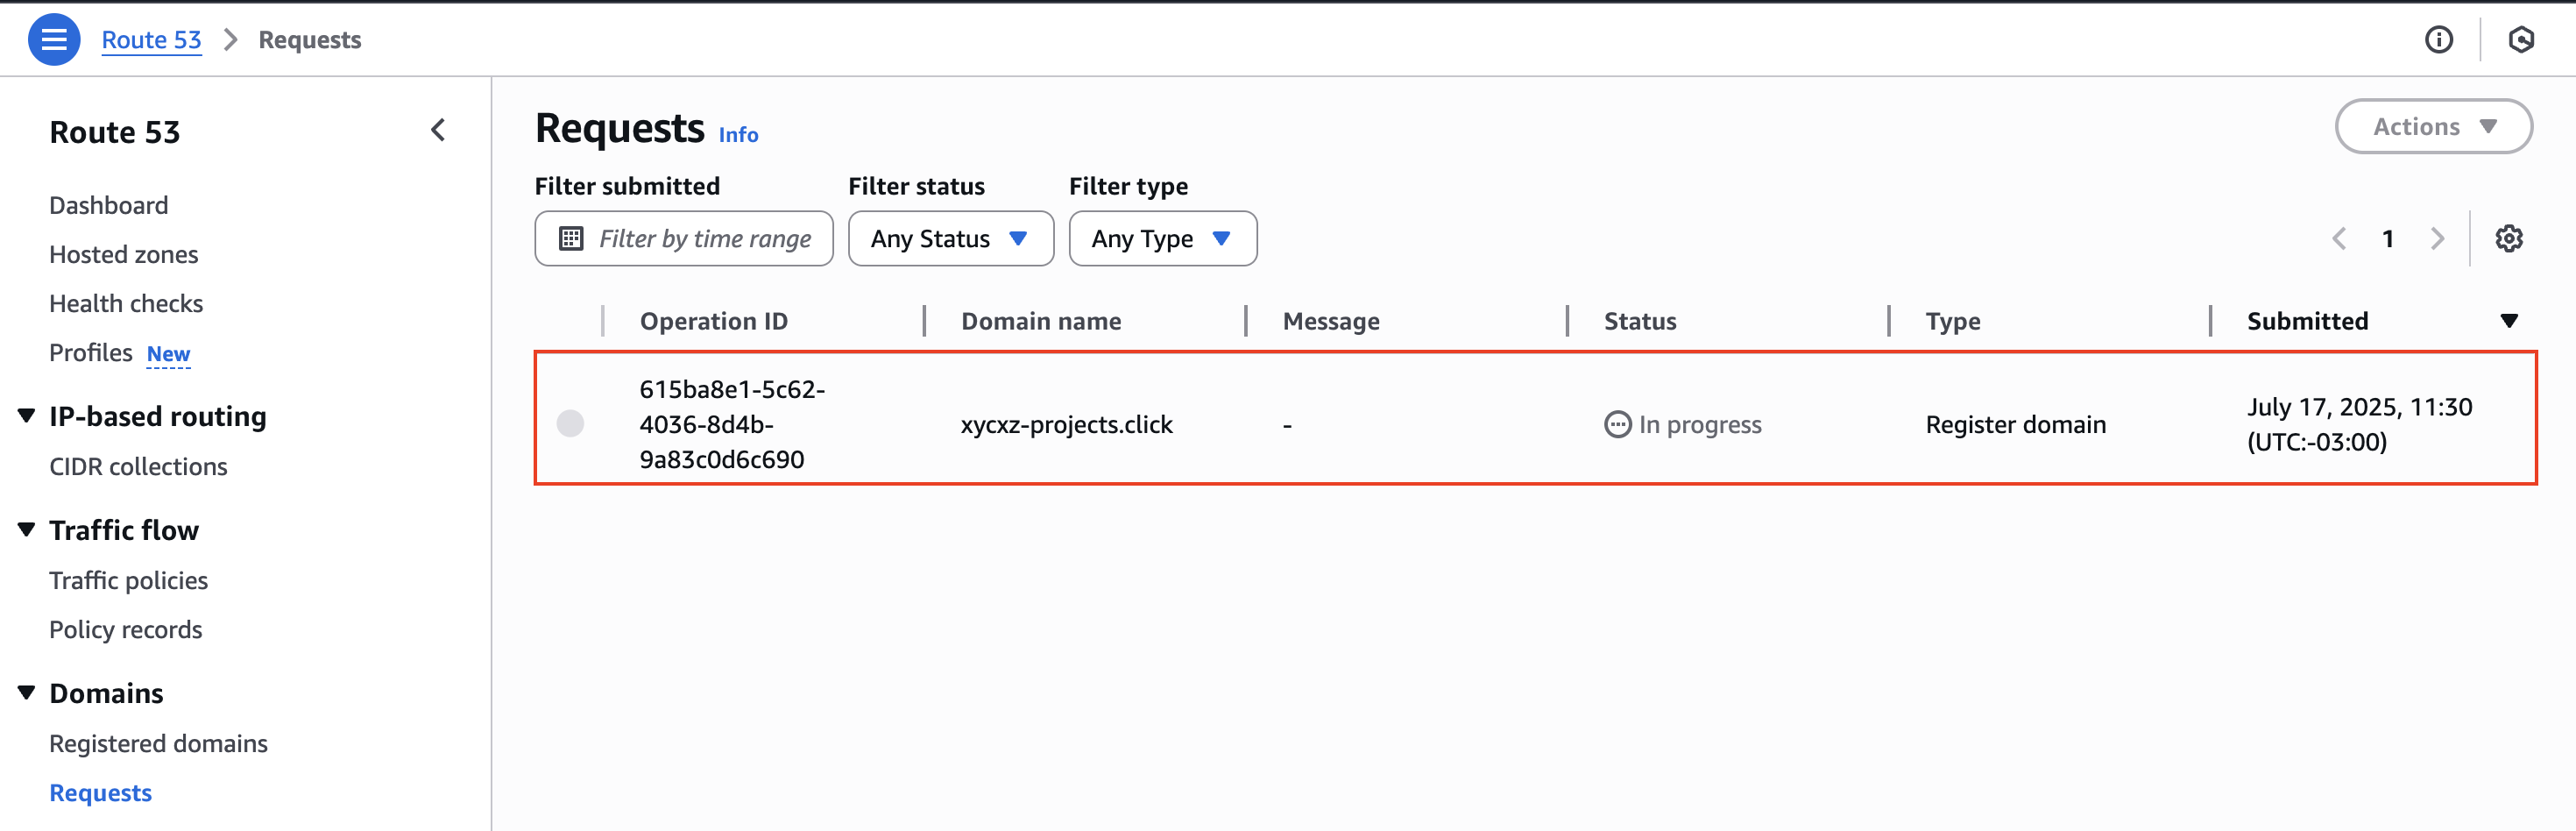
Once we are finished purchasing our domain, we will have to wait a bit for it to get activated. We will see the Status will be In progress:
Configuring our Domain
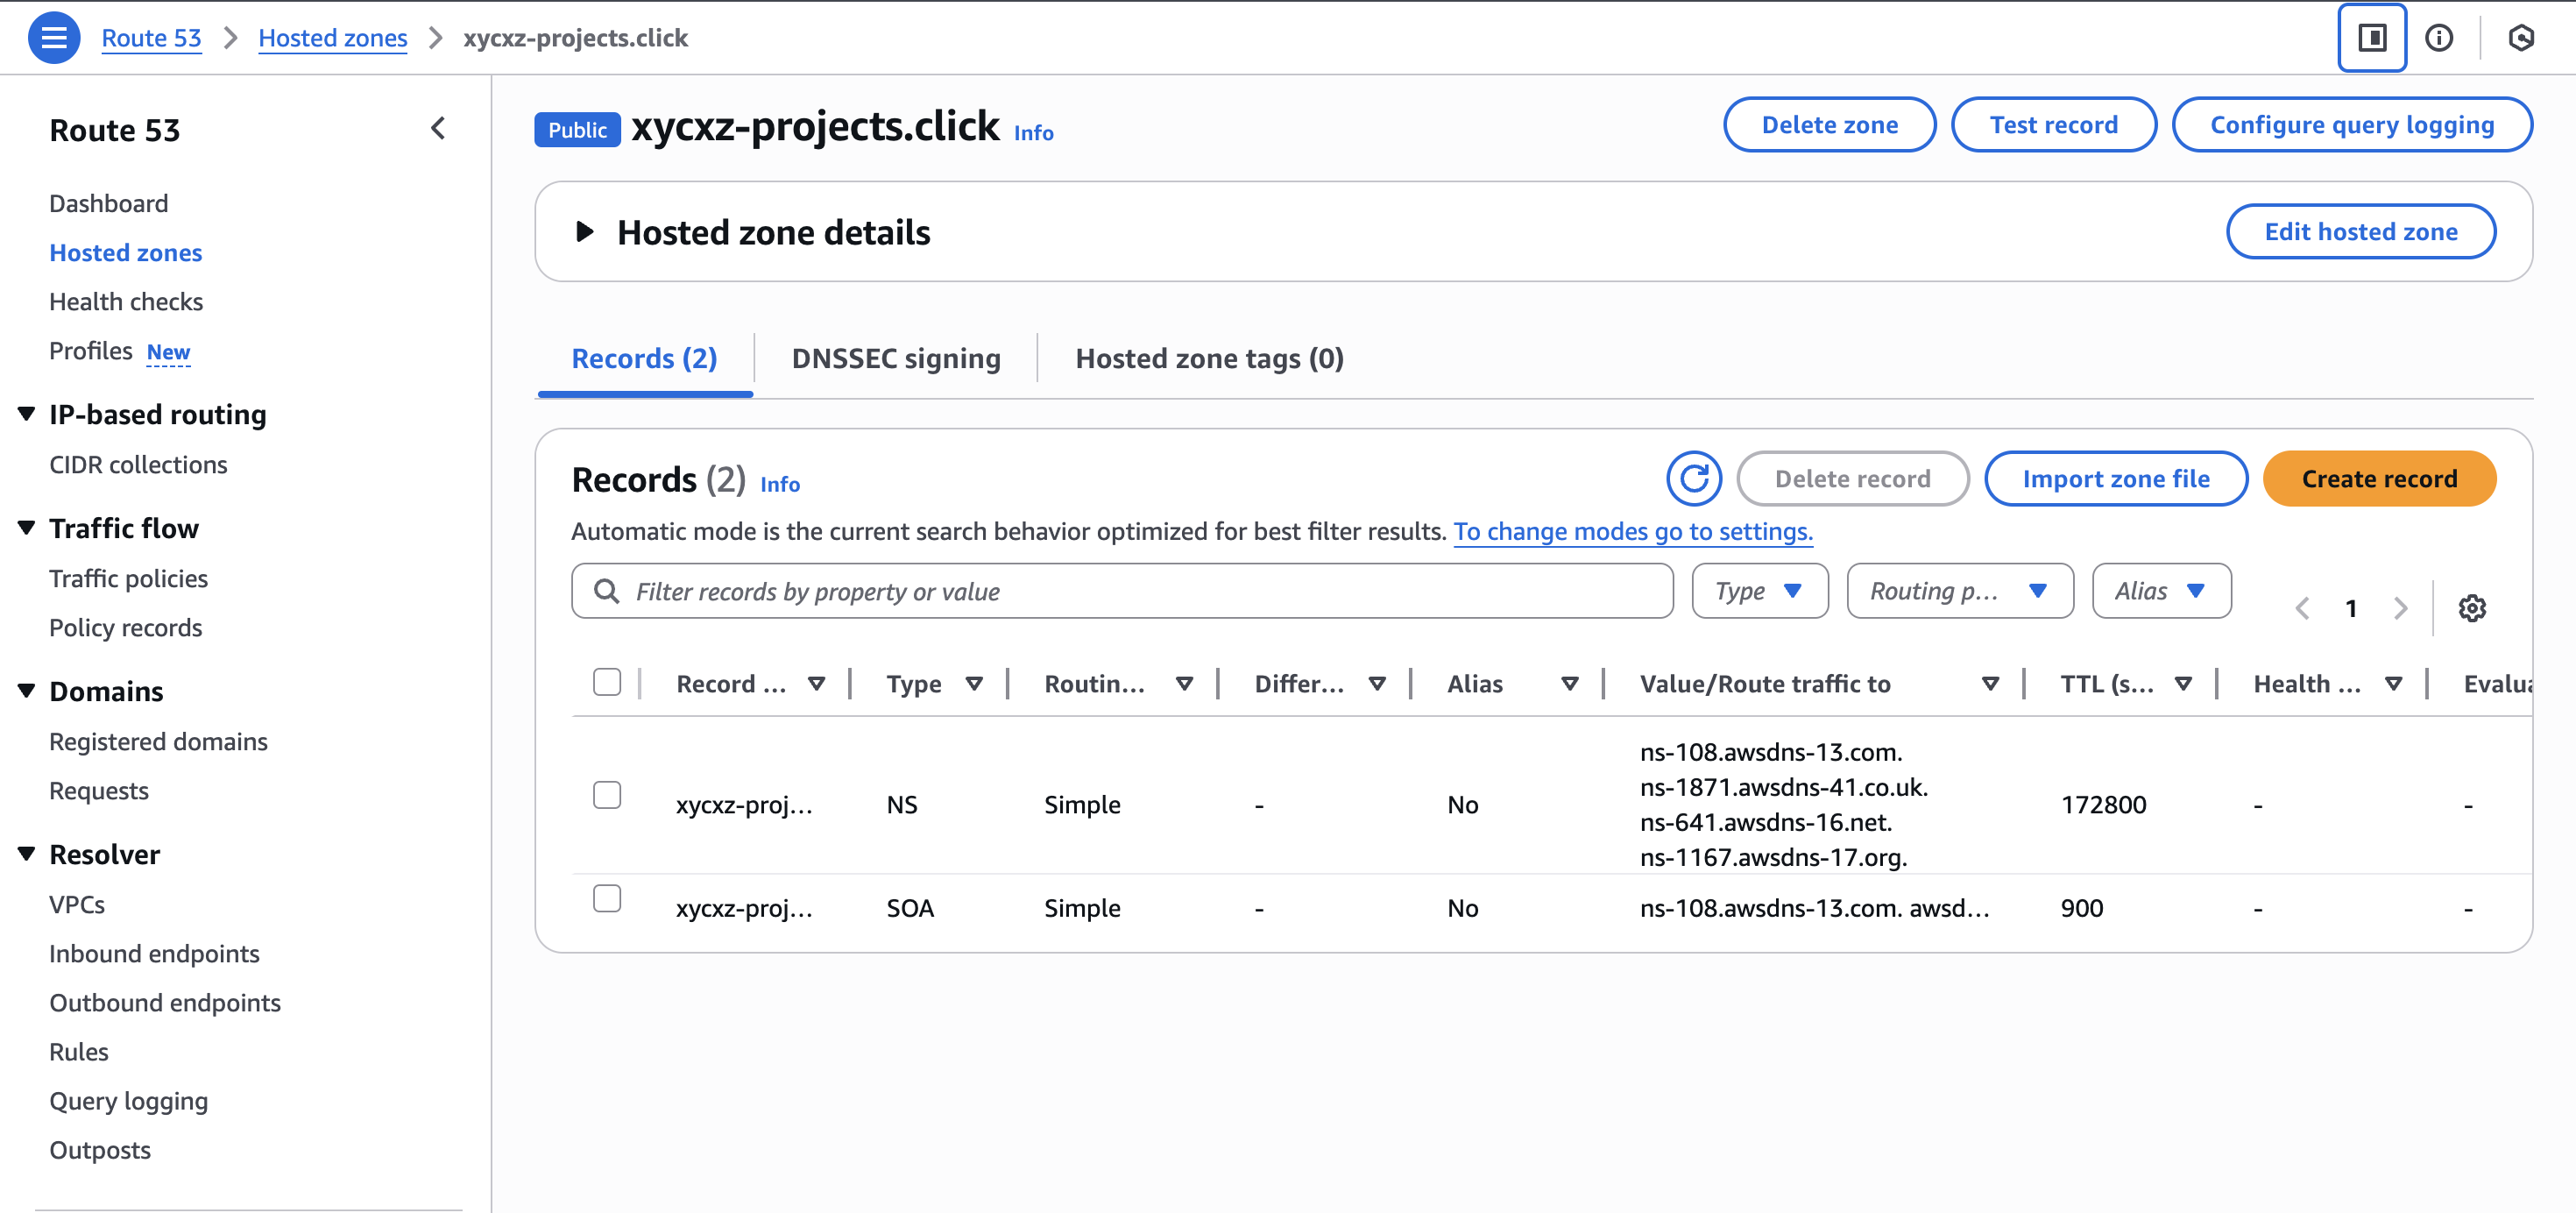
It may take a short while for the domain to become active (DNS propagation does not happen immediately!). In the meantime, we can proceed on configuring the domain so it can map to our EC2 instance since it is not necessary for it to be active. To start configuring our domain, we can click on Hosted Zones and then select our newly created domain. We will see a list of DNS records:
Now we can click on Create record. After this, we will choose the Simple routing -> Define simple record. We are choosing Simple routing for our basic setup. It’s worth noting that Route 53 also offers more advanced policies like Geolocation, Latency-based, and Failover routing, which are powerful features for directing traffic to different servers based on the user’s location or the health of our instances.
Note: If we don’t see this and we are sent directly to the Quick create dashboard, click on the Switch to wizard link.
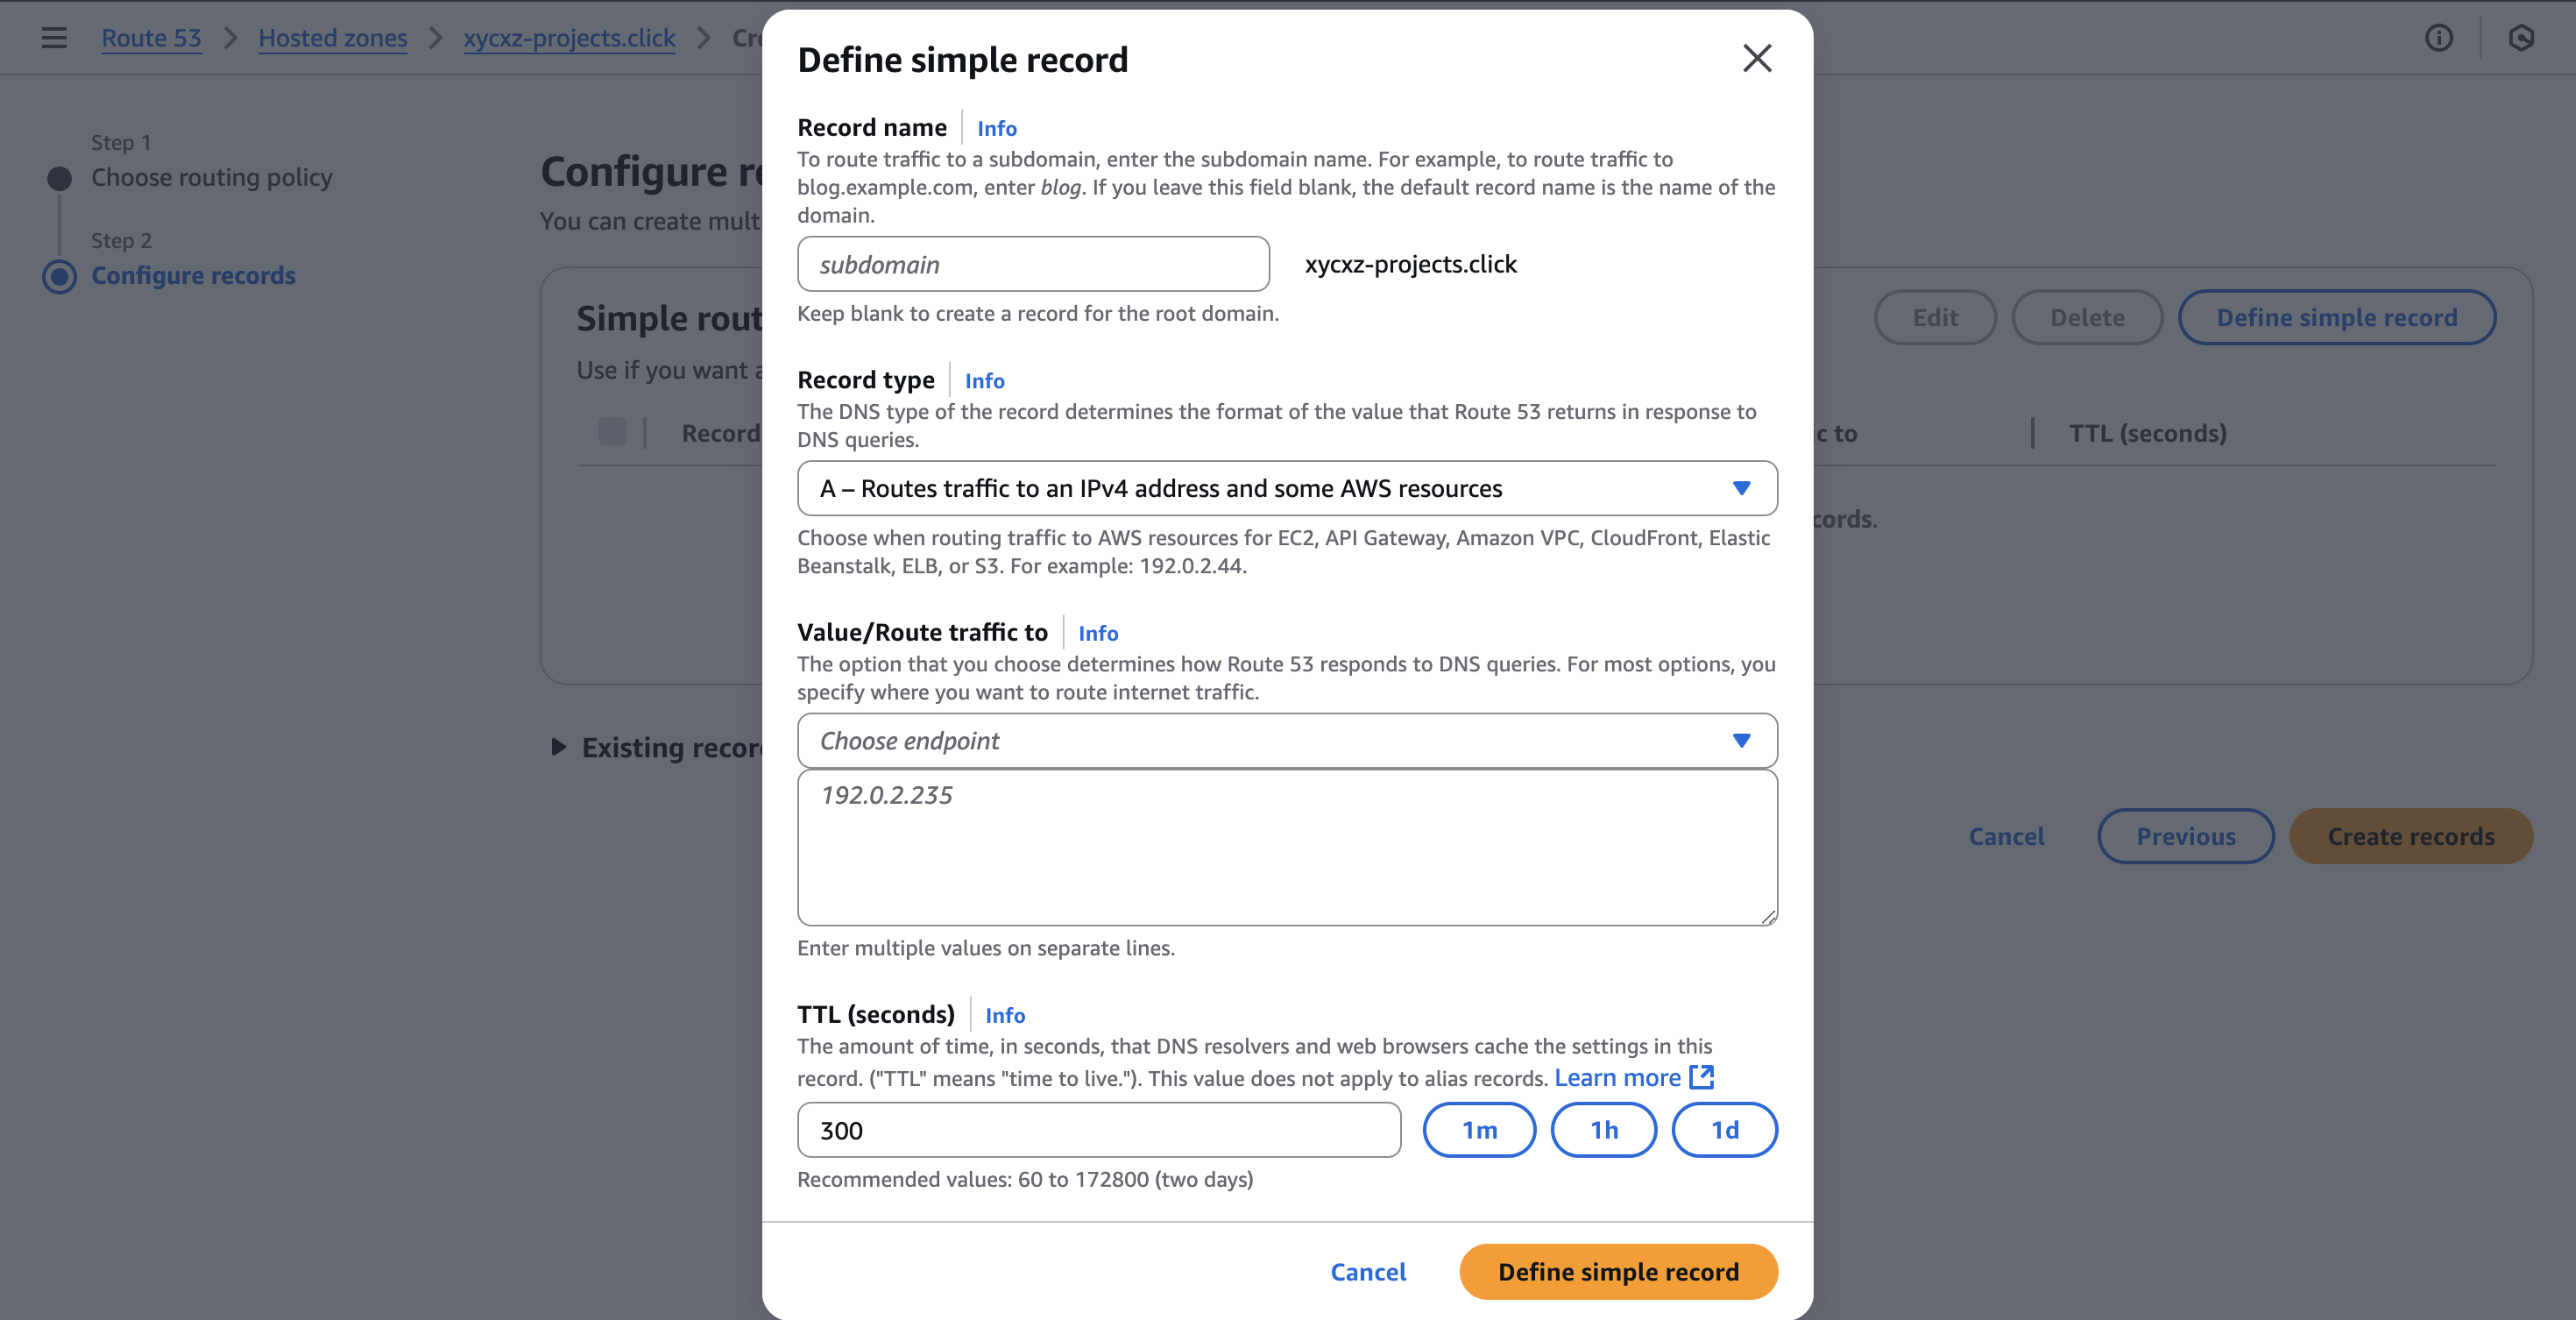
We can leave the Record name field empty because I want the whole domain to point to my server. We will select the A record type which is essentially the IPv4 our domain will resolve to. Because the EC2 instance endpoint is not an option here, we will pass our Elastic IP address manually inside the placeholder (you can check my previous post to learn how to do this).
I’m setting a low TTL (Time To Live) of 60 seconds. This value tells DNS resolvers around the world how long to cache (remember) this IP address. A low TTL is ideal for a lab environment where the IP might change as we experiment. For a stable production website, a much longer TTL (e.g., 86400 seconds for 1 day) is recommended to improve performance and reduce DNS lookups for our users.
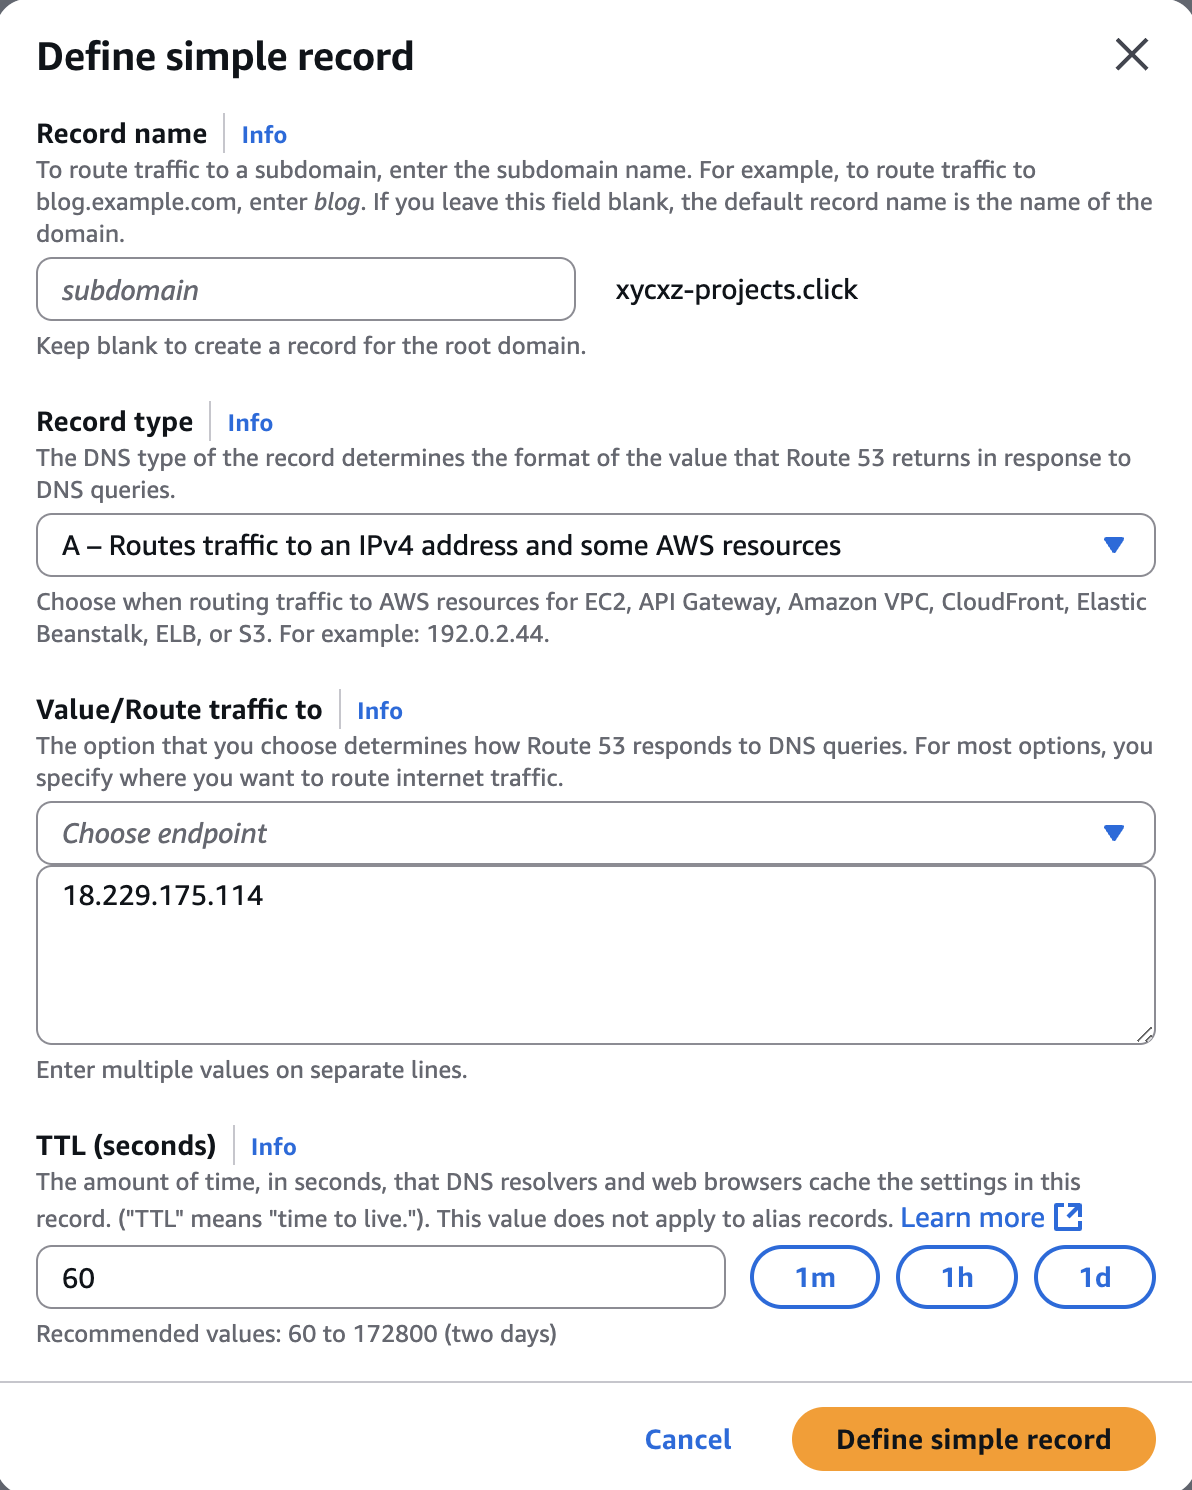
Now, I will do the same but with the www subdomain. We do this by clicking once again on Define simple record button and just adding www on the Record name (the other options are the same as the image above). Doing this is a good practice because many users tend to type www before the name of the domain and we make sure they will arrive at the same place by placing this IP mapping record.
Note: If our instance has an IPv6 address attached to it we can create a record as well by choosing the AAAA and then passing the corresponding address. In my case it does not have, so I won’t be showing these, but I just wanted to tell you that you can!
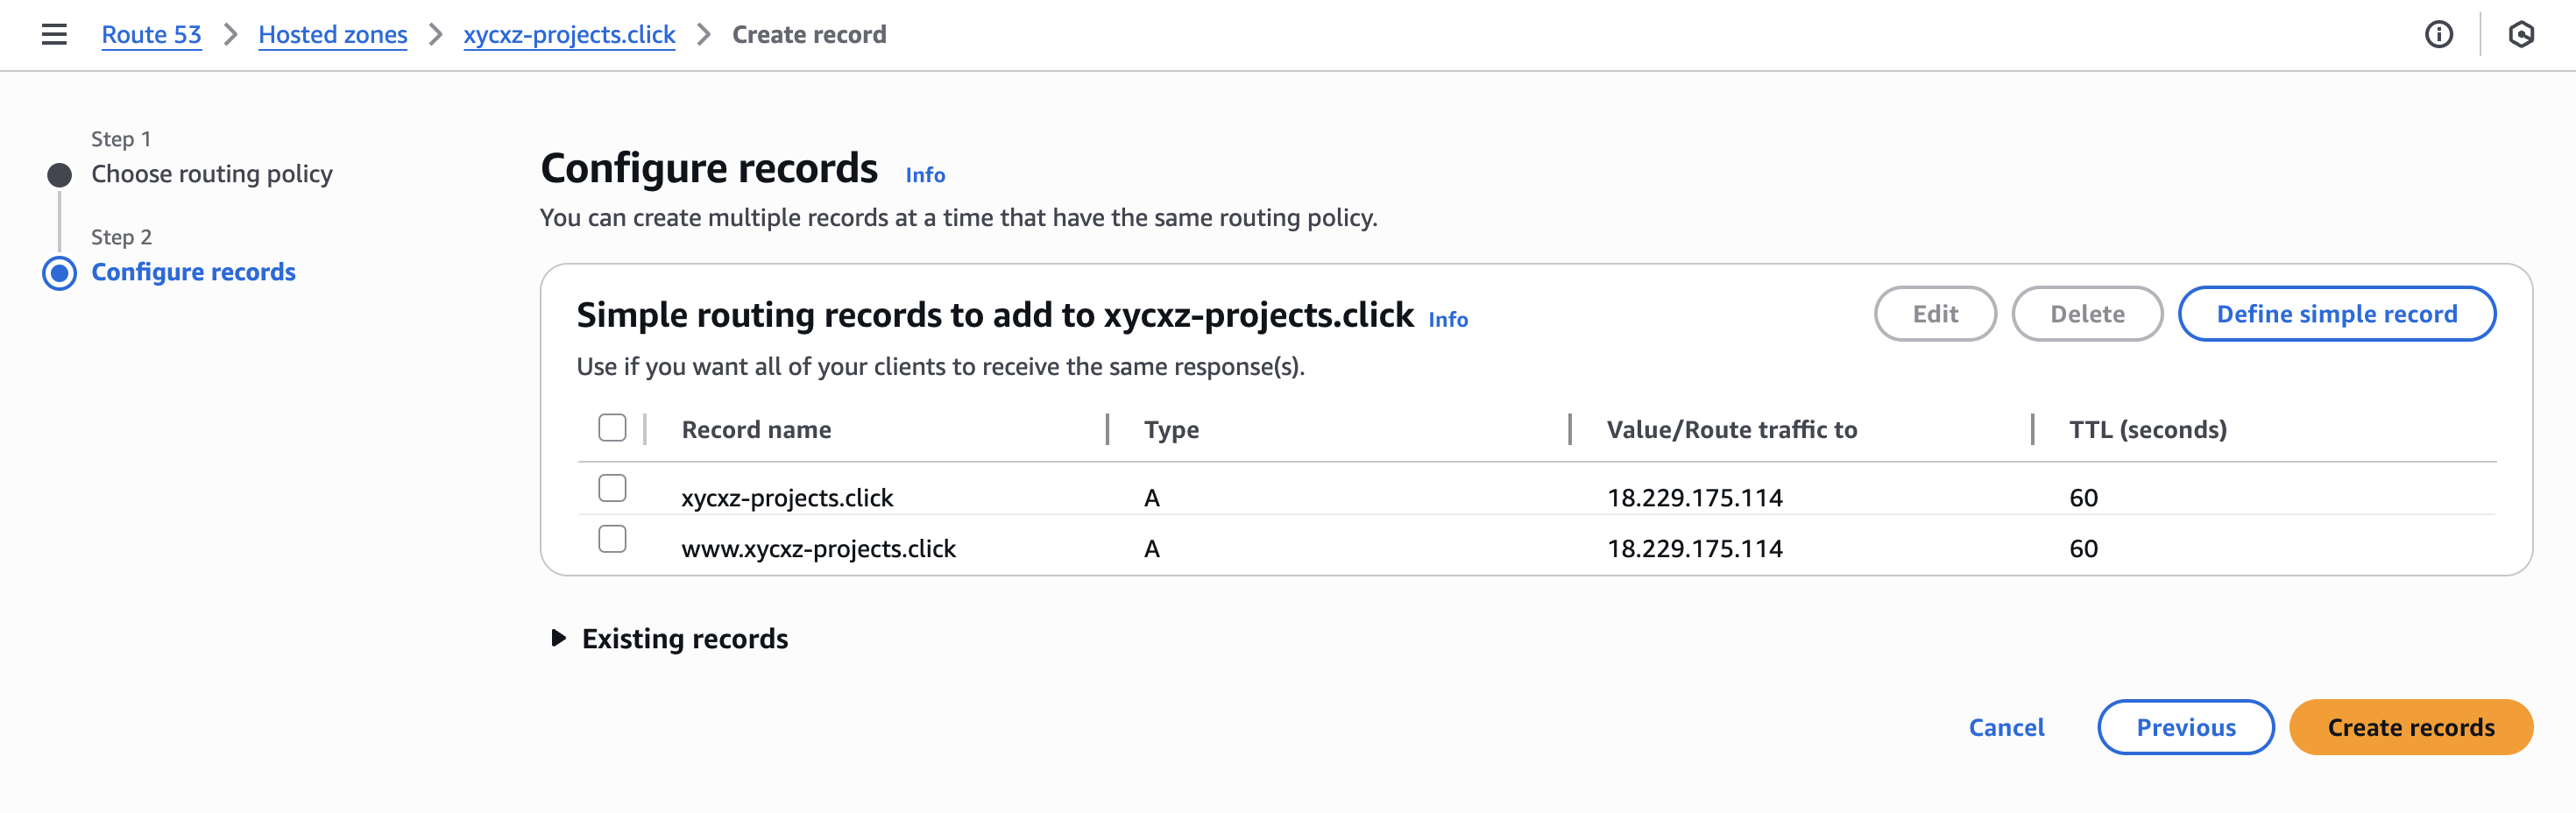
Once we have finished with this, we can click on Create records:
If our domain is now active, we will be able to visit our web server!
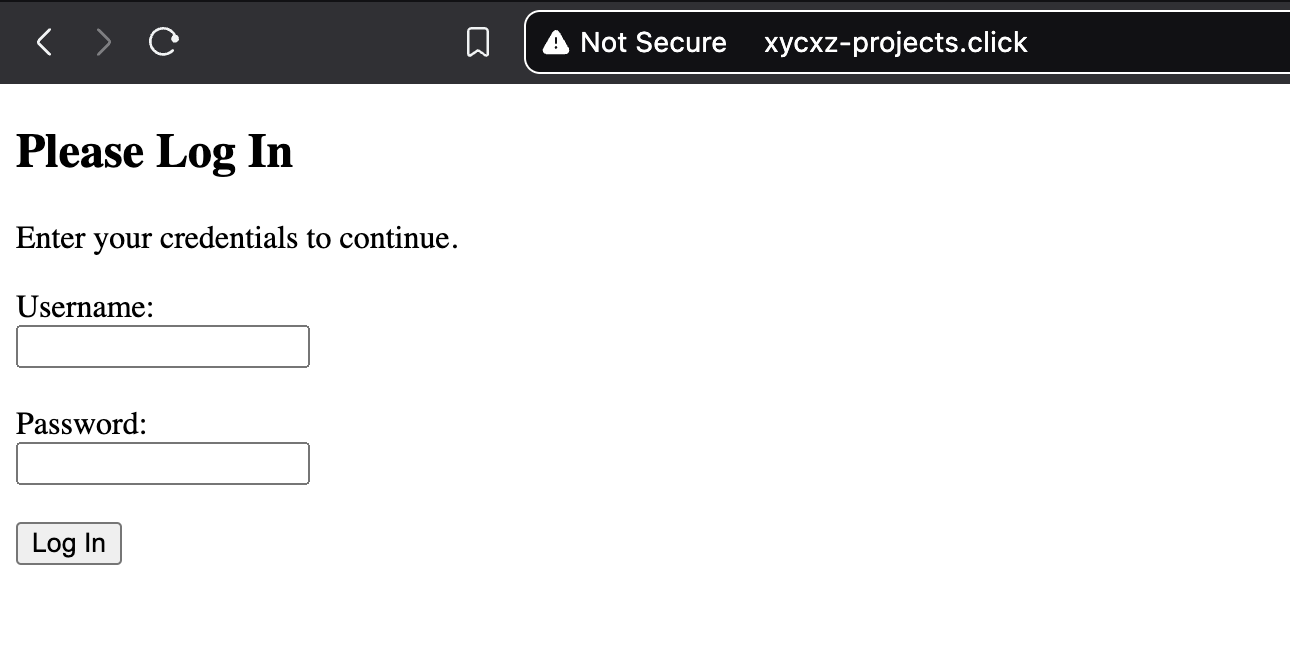
Note: If we try to use the ping command against our server (and if it is fully active), we will get the IP address of it back to us. However, because it is not configured to handle ICMP requests yet, we won’t get any answer from it. This is because the default AWS Security Group for our EC2 instance does not allow inbound ICMP traffic by default. What is important is that we are able to resolve the domain name to an IP address.
Great job so far! However, as we can see, our connection to the domain is Not Secure. This means that we are using a non encrypted protocol (HTTP). What we would like to do now is to activate HTTPS to make sure our network traffic will be encrypted and not anyone using a MiTM attack can sniff our data in clear text.
Next Steps
In the next post, I’ll cover setting up HTTPS using Docker Compose so we can securely serve traffic to our domain.